
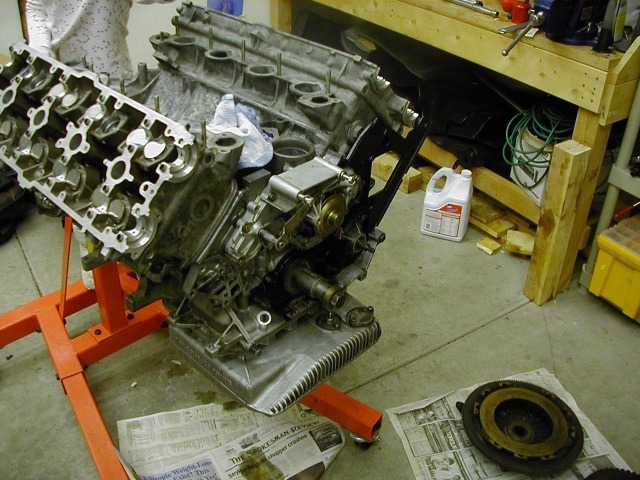
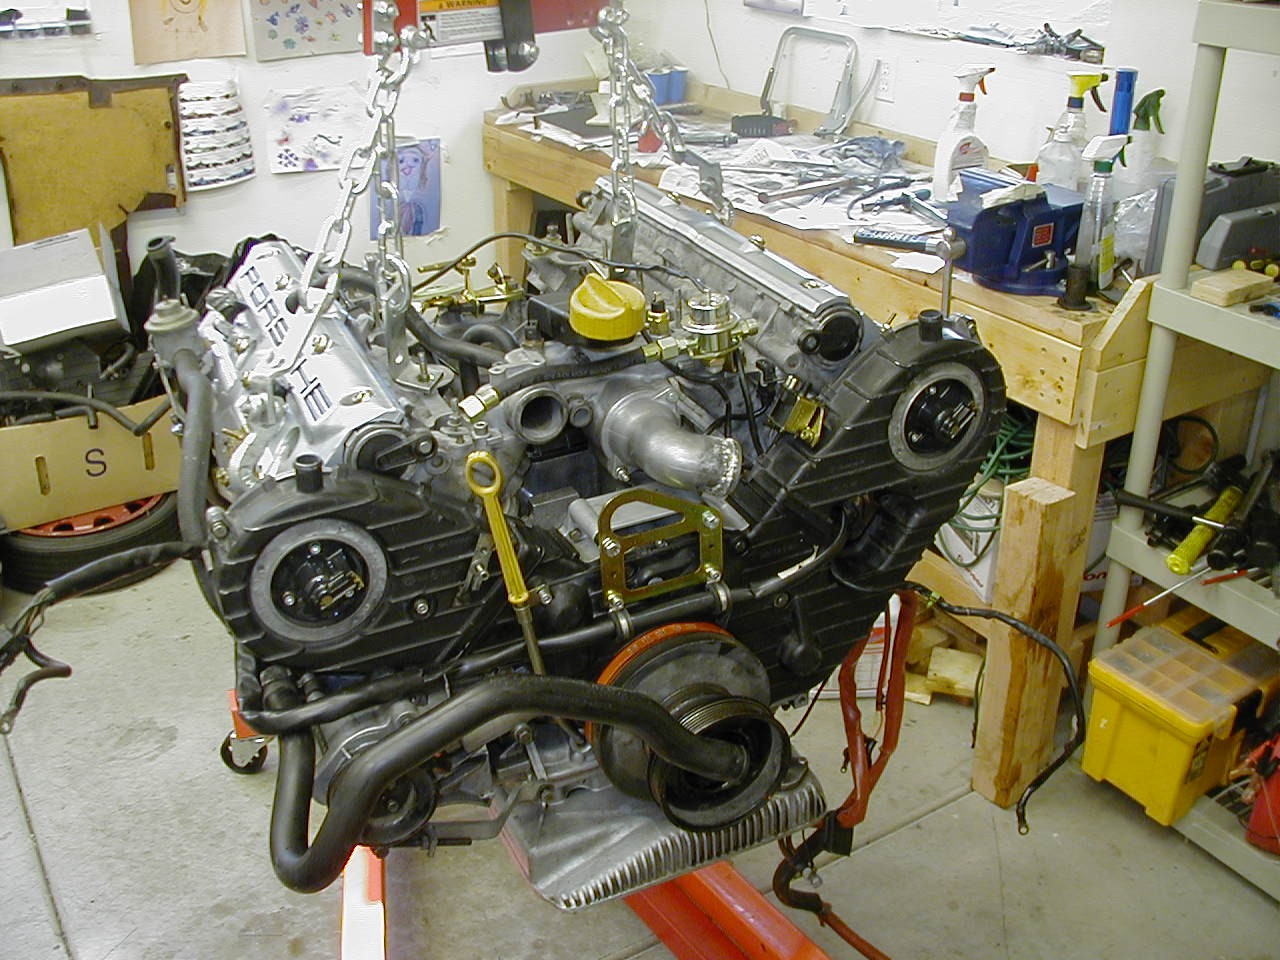
About 6 hours to get to this point, less if the release arm on the clutch would have come off.

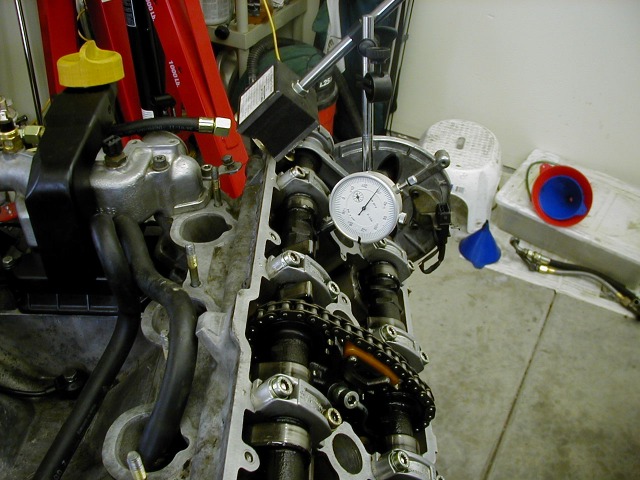
Well I did a compression test a couple of months back, the right bank were all 150psi, the left 140psi, with my dyno chart showing 20hp or so down looks like the cam timing off. This with the long standing issue of low oil pressure when hot, intake needing finishing made me think lets just yank it out, go through it and be done.
One other item I can get done is the head gaskets, if the condition of these is like the other seals I have been replacing ... nice and strong for the supercharger kit.
|
|
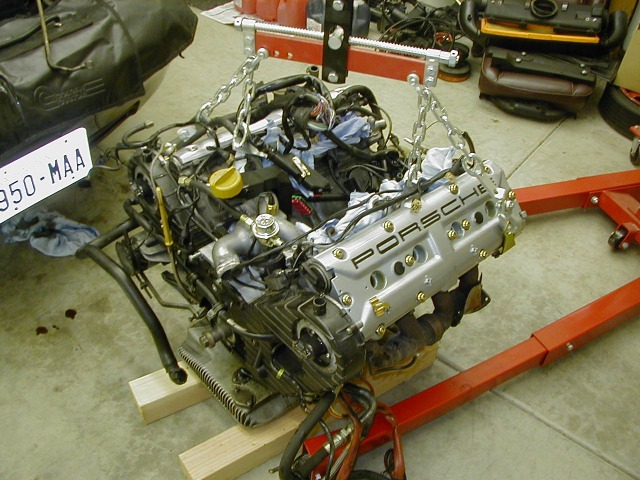
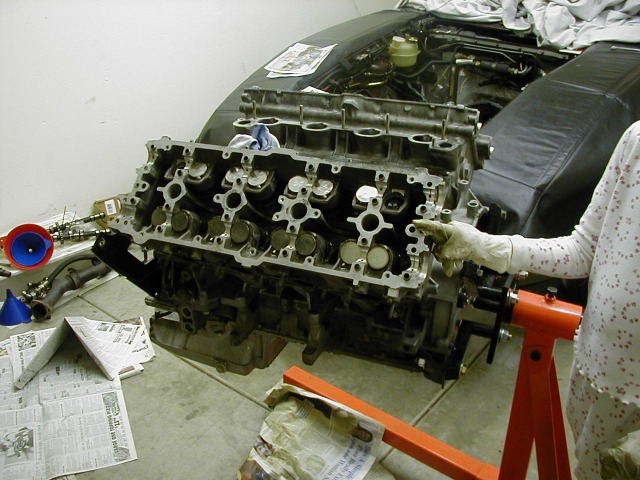
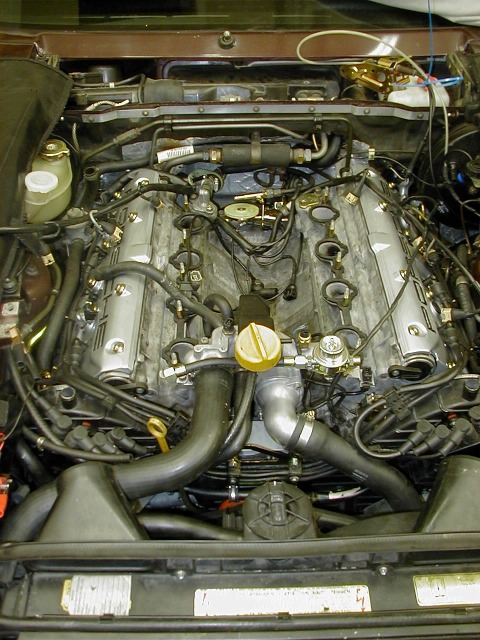
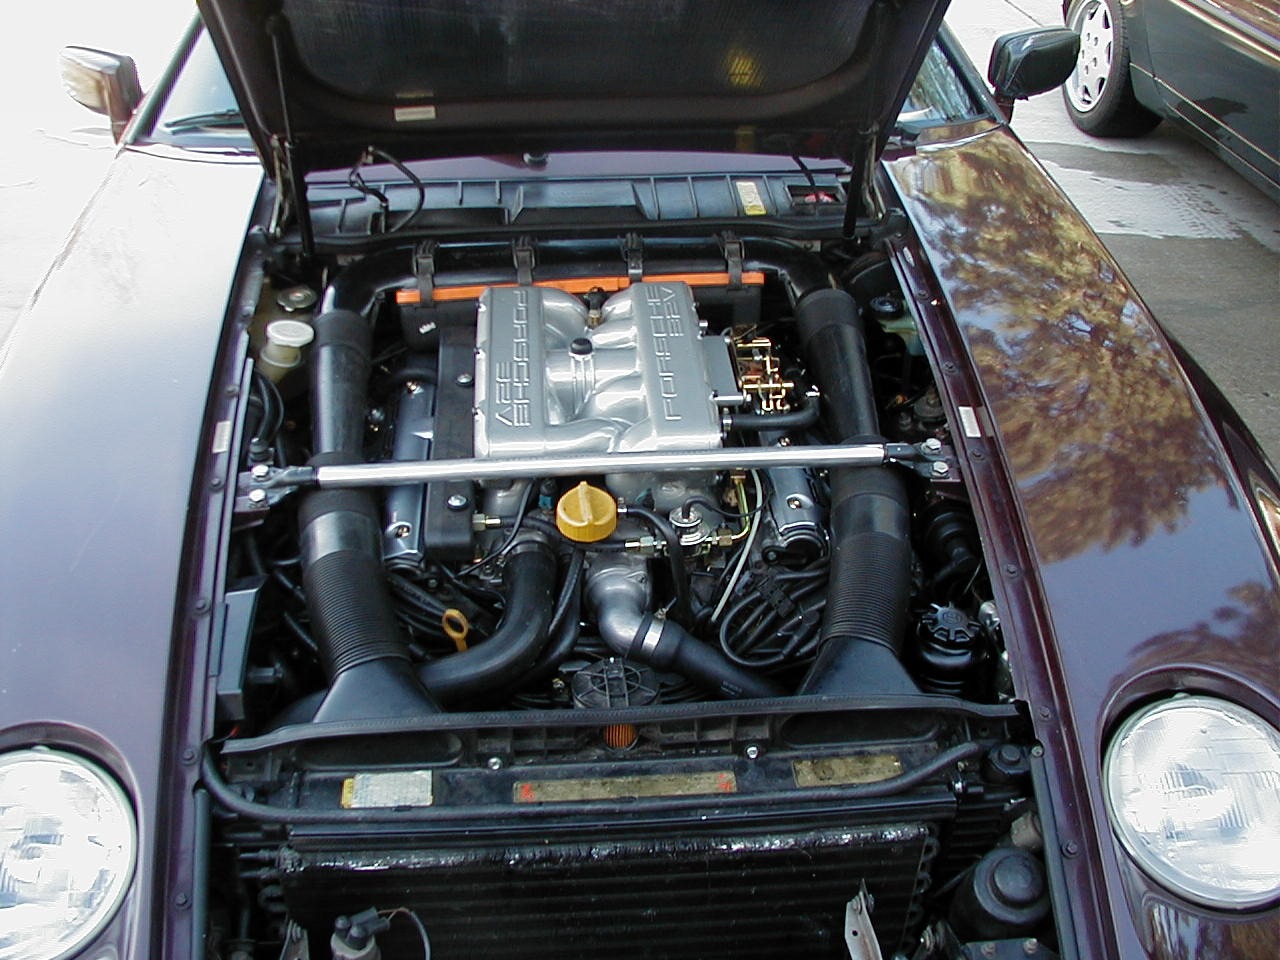
Getting all the peripherals removed or detached wasn't too
bad, familiarity with the engine helps.
About 6 hours to get to this point, less if the release arm on the clutch would have come off.
|
|
|
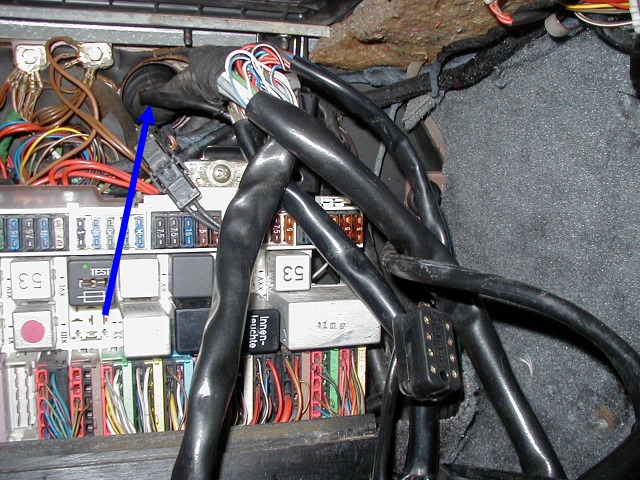
OK so here is a "don't be a dumbass like me point", I removed the engine cable harness through the firewall to the engine. The way to do it is to unattach the wiring harness on the engine .... if you want to then pull the harness it comes out much better the other way .... |
|
Success, and time to take a break. |
|
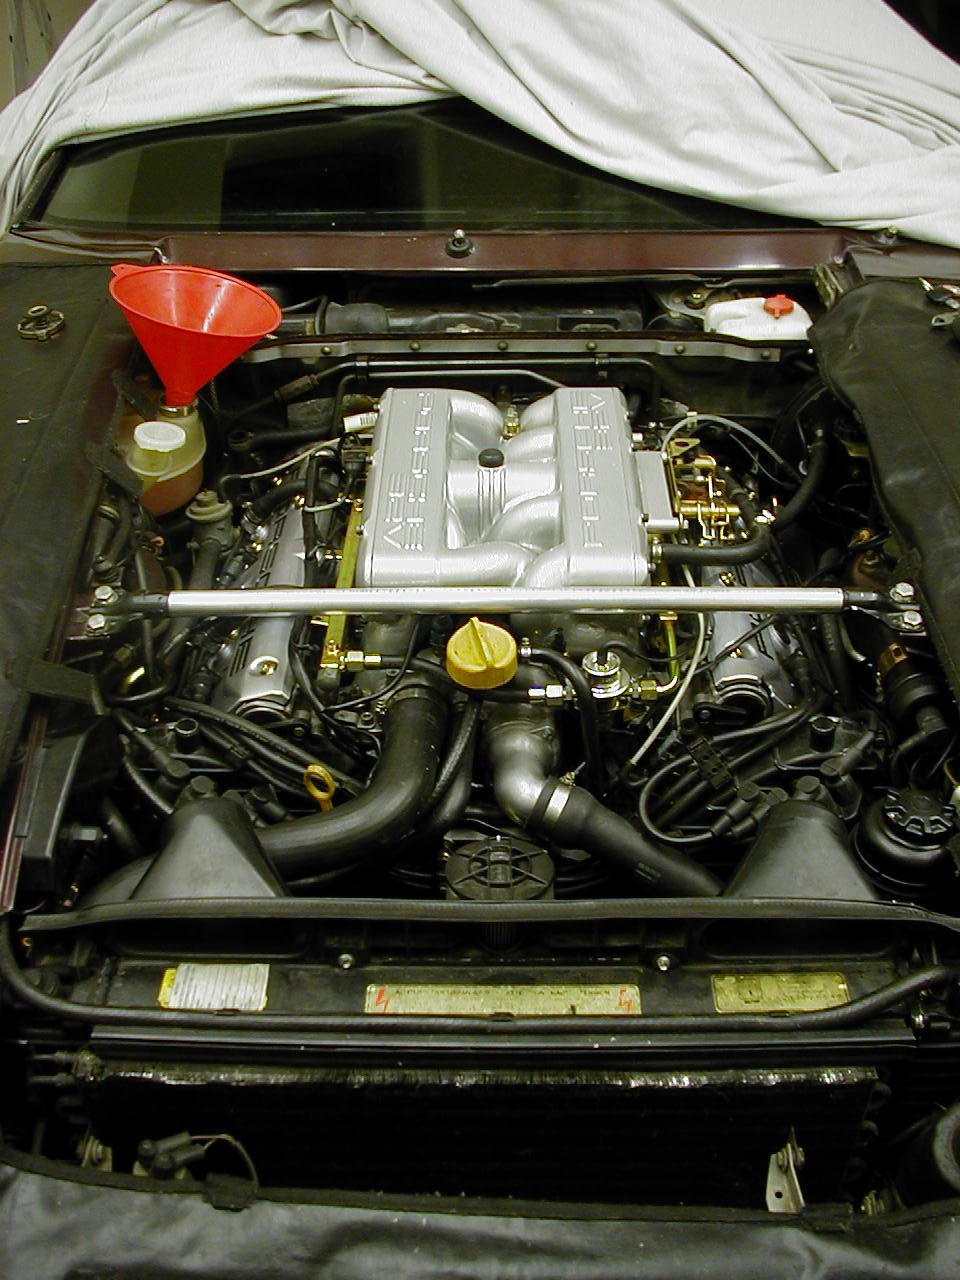
Well lots of room in there now, good time to replace that blue clutch hose. |
List of to do so far:
Well looks like I have finally found the cause of the oil pressure not being quite right, check out the pictures of the main bearing shells below. Current thought as to what caused this is that the PO who replaced the engine did not flush out the oil cooler and lines and the debris caused the damage. Would explain why rod bearings were not trashed.
 |
Check out all that copper !! |
 |
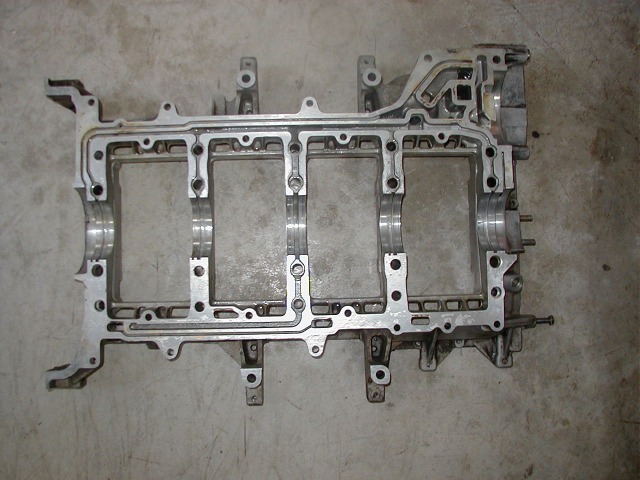
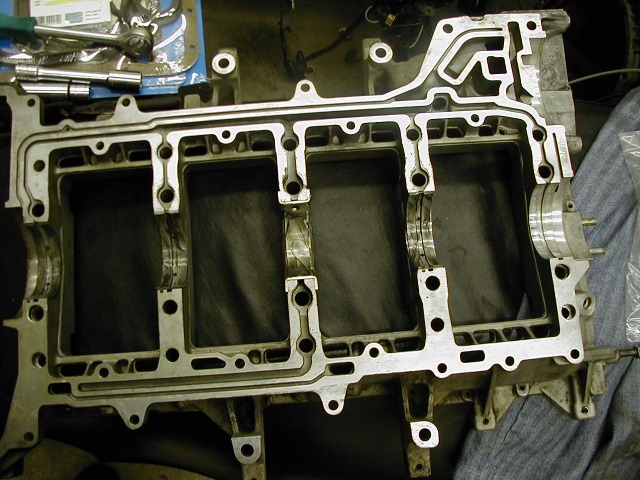
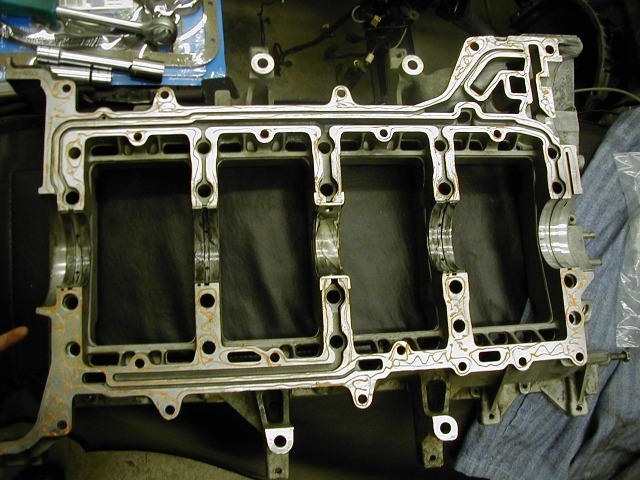
Picture of empty upper block on cradle in process of being cleaned. |
 |
Cradle, these are where the bearings above came from |
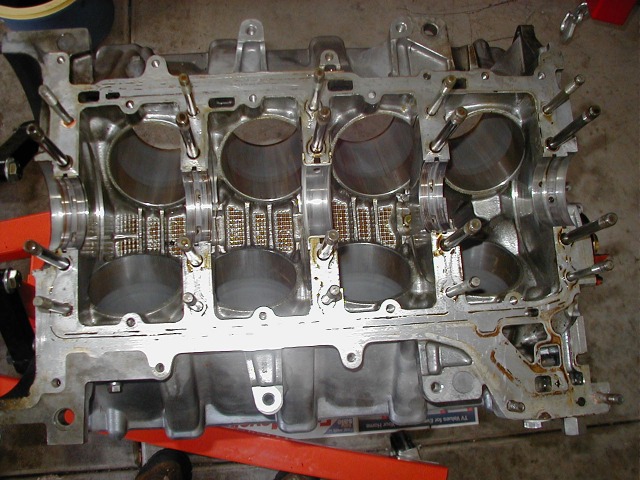 |
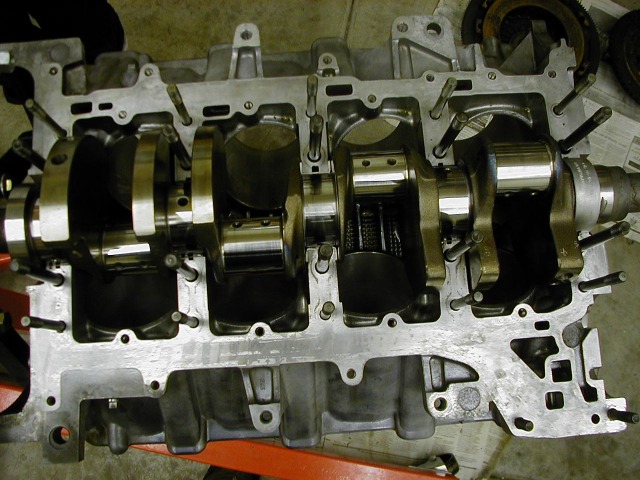
Lower block with bearing shells still in place, if you look closely you can see the holes in the bearings which feed the piston squirters. |
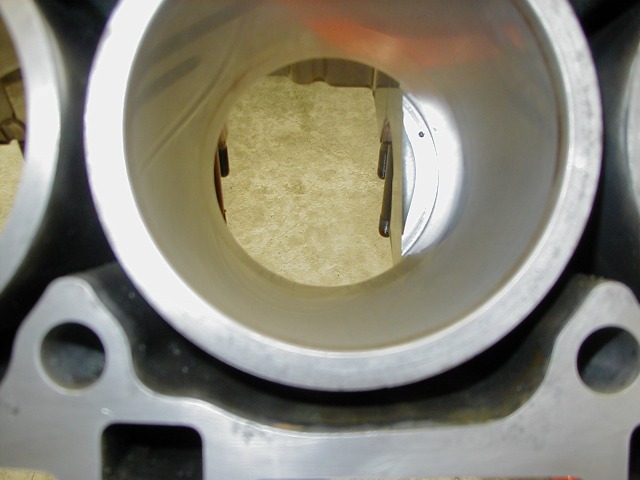 |
Close up of one of those rare squirters !! |
So Crank is back and machined down to -0.25mm which is the 1st oversize, bearings are on back order so time for some cleaning.
 |
 |
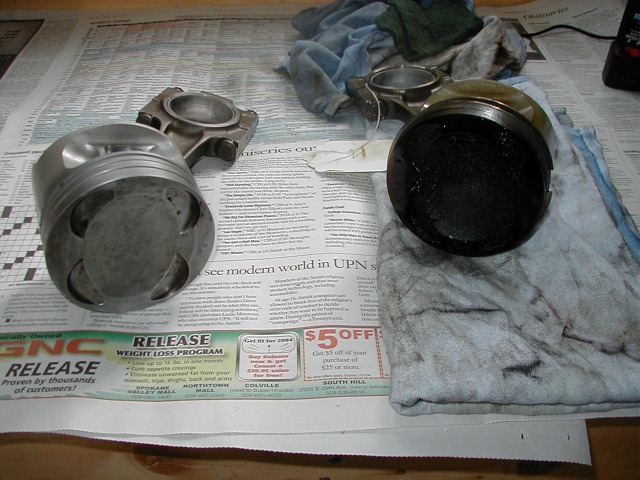 |
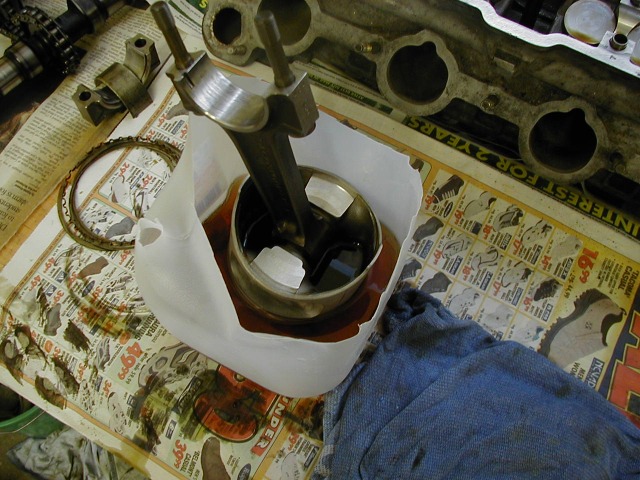
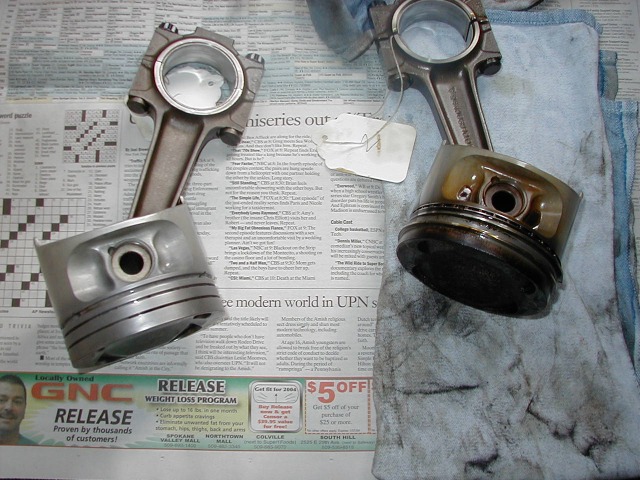
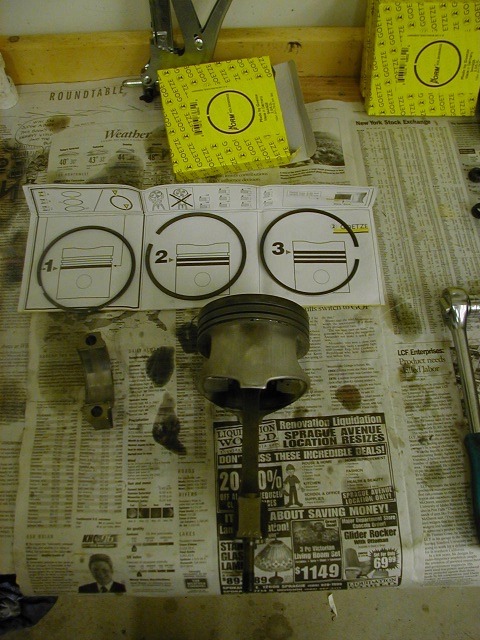
Taking about 2 hours per piston, slow and laborious. Chemical concoction helps but nothing like elbow grease for the real work. Using wooden tooth picks to clean the ring grooves. Here you see before and after. |
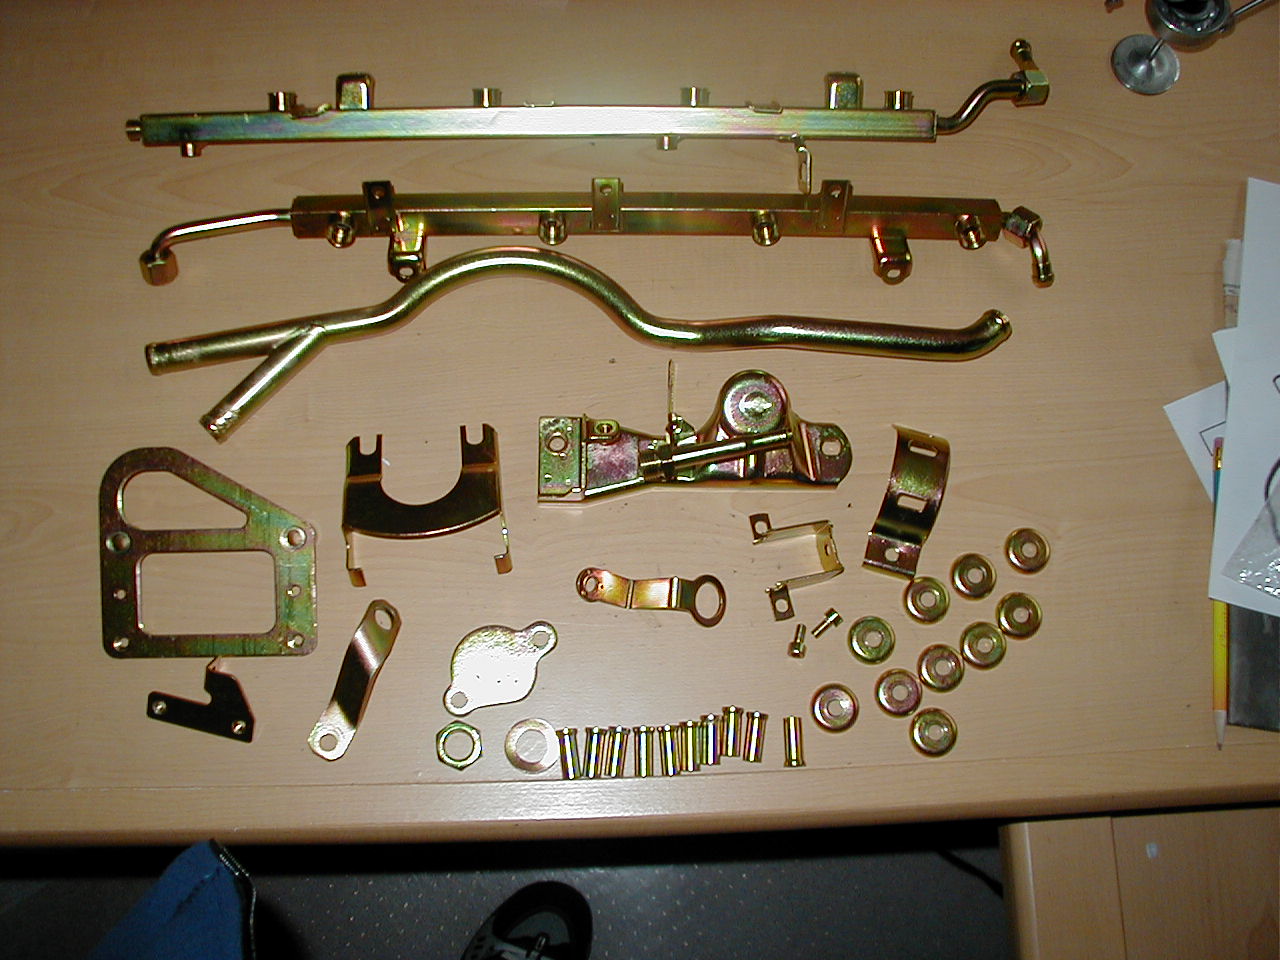
While there were some metal parts hanging around decided to get some more plating done.
All pistons are clean now, I heard today that new bearings are on the way after waiting for a new 0.25 undersize thrust from Germany. I started on the heads ... so far just the passenger side, I found one keeper looking for a home though .. and while playing truant it got a good thrashing from the hydraulic lifter ... a new keeper on the way.
 |
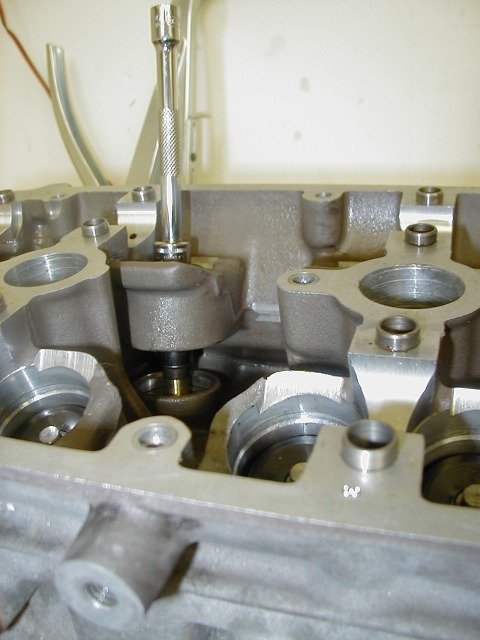
Head ready for one last clean after lapping all the valves |
 |
One Inlet seat has seen better days but it will have to do for now. |
Well passenger head is all re-assembled except for the one valve where I need a new keeper.
 |
 |
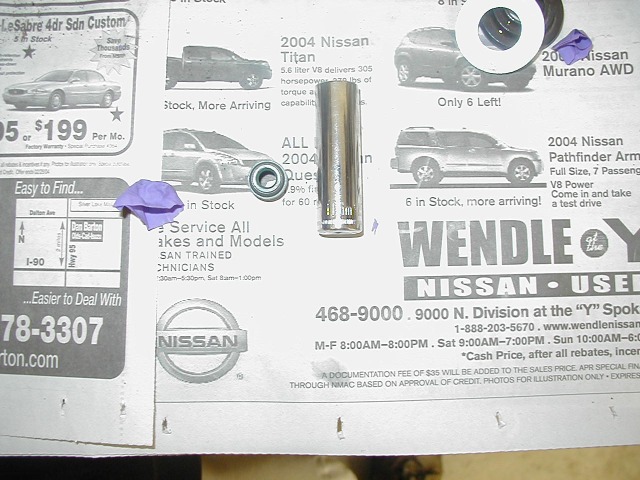
Here is my seal inserting kit, I used tip of a rubber glove to protect the seal while running over the keeper grooves in the valve. An 11mm deep socket worked perfectly for fitting over the seal and then an extension to hammer on the end. These seals are a snug fit !! |
 |
 |
Top and bottom views |
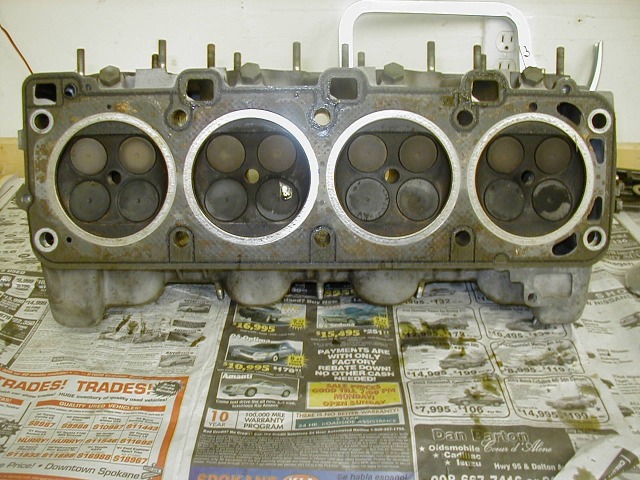 |
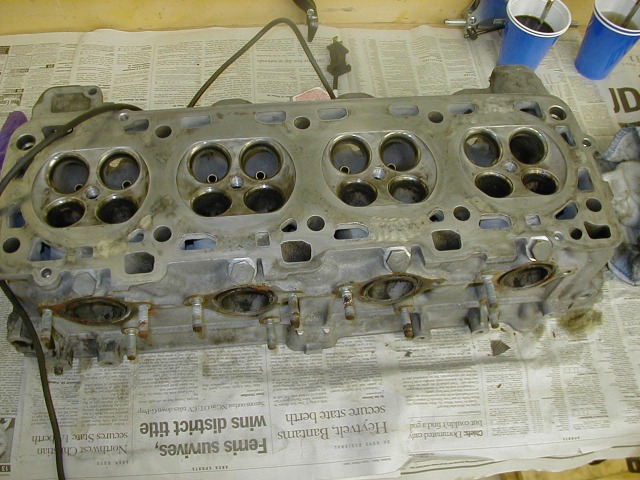
Here is a shot of the drivers side head before dis-assembly and clean up. | |
Well while this was going on I took the intake to be powder coated, they did a great job. It cost more to have the old paint stripped off than it did for the actual painting. In the engine gasket set where new seals for the side of the intake which was a pleasant suprise.
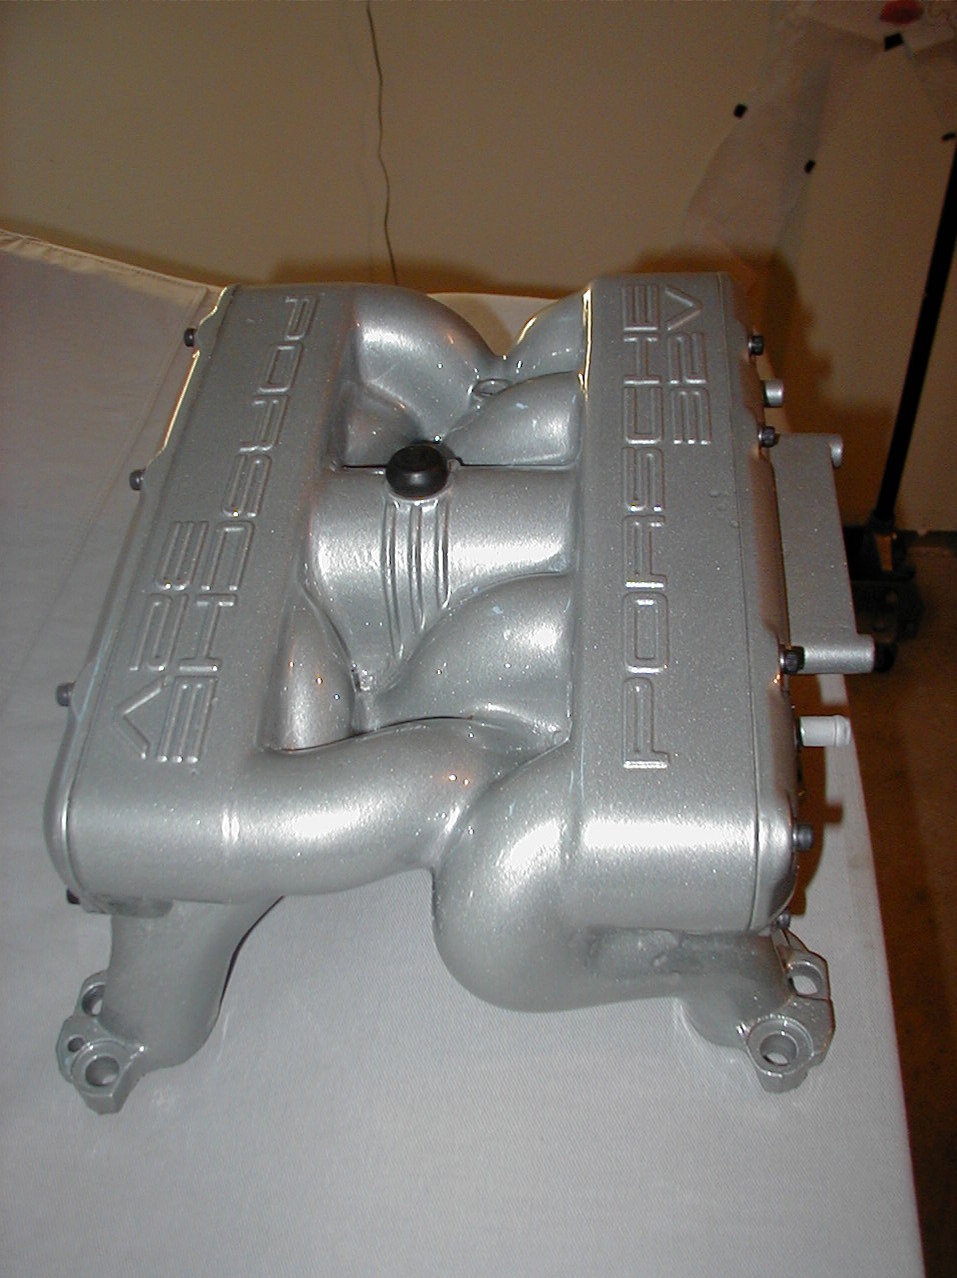 |
Well I bought a spare intake on ebay with throttle body and all for a stupid price, couldn't resist. It was this intake I had painted figuring if anything went wrong I can just re-use the old one. Beauty, this is after the flappy re-assembled and side bolted back on. |
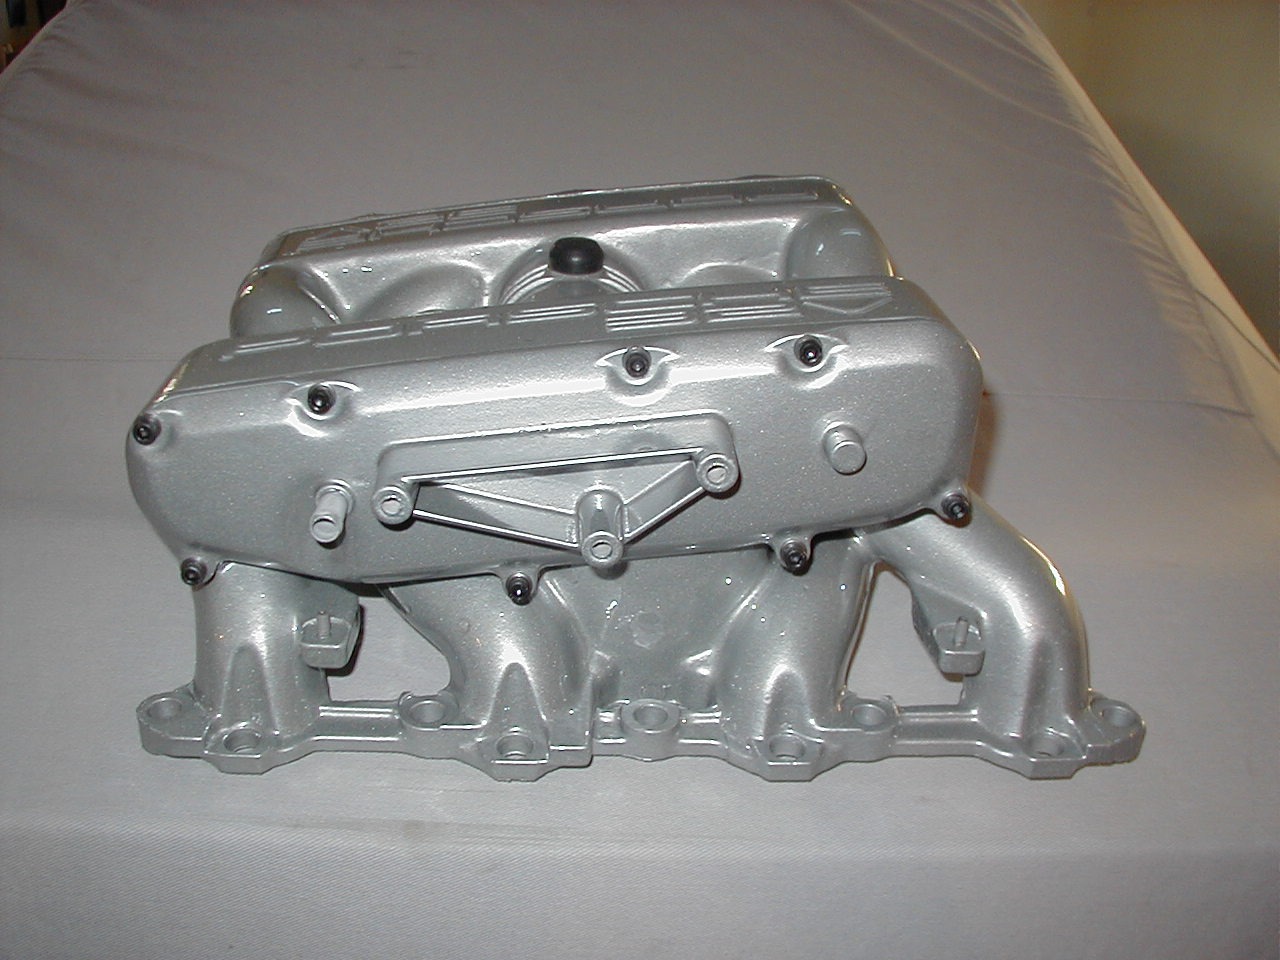 |
Another shot |
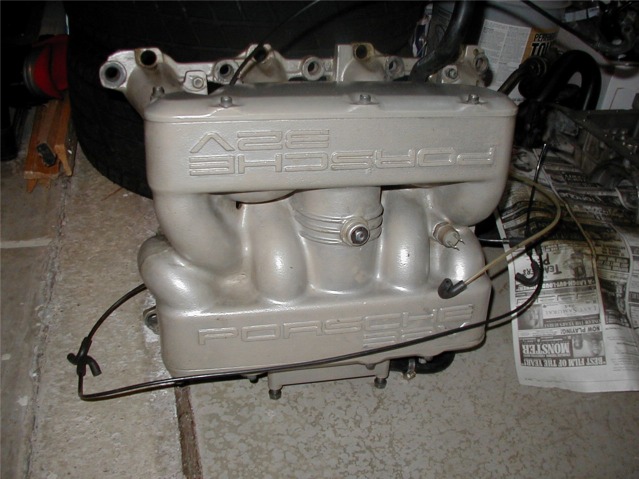 |
A pic of my old intake. |
Well the bearings came, whohoooo !!
 |
Here is the crank inserted in the block, ready for its other half | |
 |
 |
Here is the cradle with bearing lube then Loctite, need to look careful as the light isn't too good in these shots. |
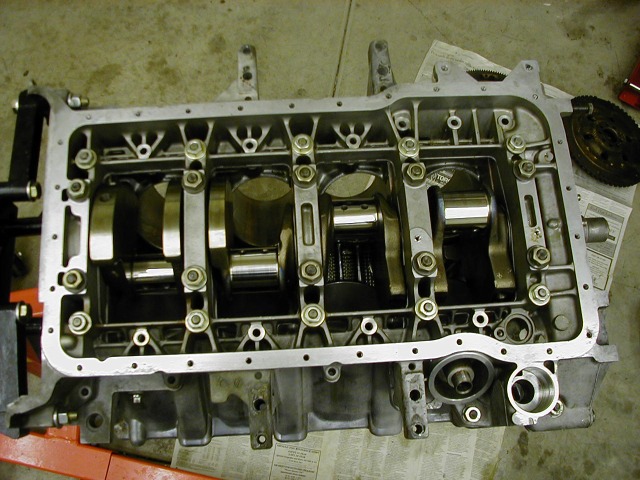 |
All assembled. | |
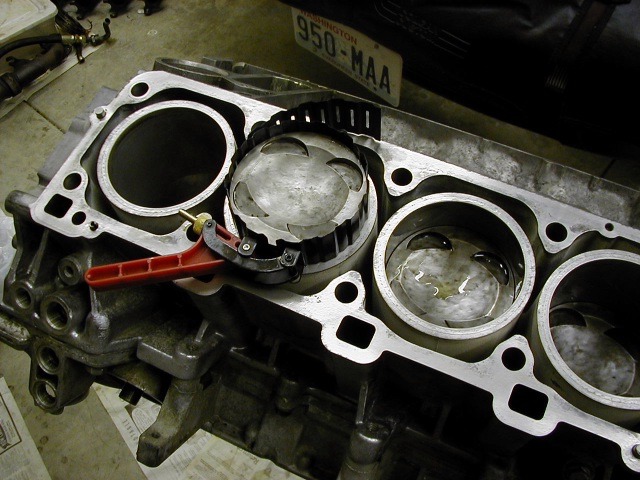
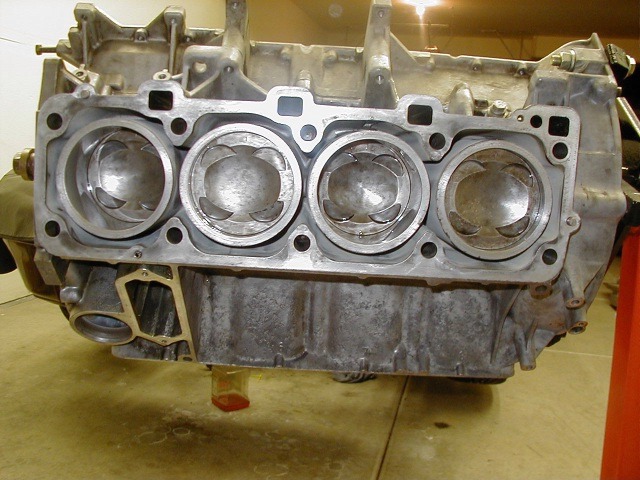
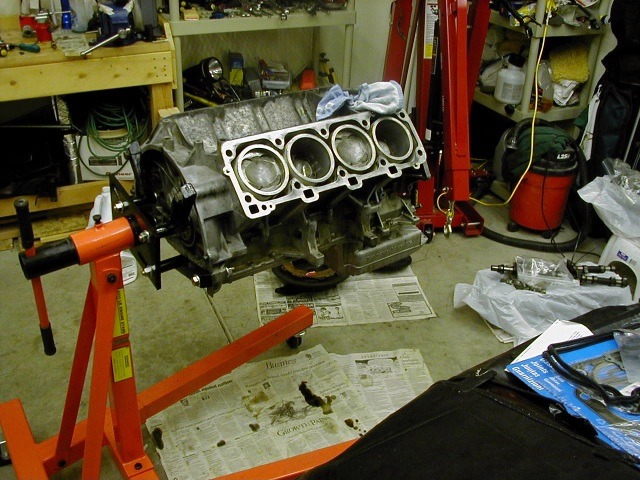
OK I am just going to let the pictures tell the story from here on in.
 |
 |
 |
 |
 |
 |
 |
 |
 |
 |
 |
 |
 |
 |
As of 3/21/04 I have driven 12 or so miles, there is a slight coolant leak from the Water Pump but otherwise so far so good. AND oil pressure is now normal !! A hair under 3bar at idle and a full 5 bar at 2K, whohoooo !!
3/23/04 ~100 miles. No 8 Cylinder has a black plug, going to be checking ignition and injector.
Compression Tests, before and after rebuild
| Cylinder | Sept 2003 | 50miles | 500miles | 1000miles |
| 1 | 140 | 165 | ||
| 2 | 150 | 160 | ||
| 3 | 150 | 160 | ||
| 4 | 150 | 160 | ||
| 5 | 140 | 160 | ||
| 6 | 140 | 160 | ||
| 7 | 140 | 160 | ||
| 8 | 140 | 160 |