(Picture taken but need to be developed, give me another couple of weeks)
So at some time in the cars past there has been some accident damage (see MyStory), my front passenger wheel has always been a bitch to clean and I took it off last winter to find that the rear of the wheel was badly caked with brake dust and some kind of brown coating. There were also words 'LF' written twice on the inside rim. Hmmmmm
I suspect the original wheel had been replaced by one from a breakers yard, the rough surface on the front face is where someone had blown over part of the wheel with silver paint and didn't bother about the overspray. Magic.
So this winter I decided I would refinish it myself, most places won't touch wheels with he pressure sensors anyway. Ordered some Wurth wheel spray and lacquer, should arrive next weekend, first task is to prepare for painting which of course is always the worst.
Cleaning Day 1:
Decided not to use power tools or chemical strippers as I didn't want to damage anything or take all the paint off, only want to take the filth off and leave a surface which can be painted on.
Off to local store, set of detail brush's and a various assortment of wet and dry.
Get the rags and a bucket of water and begin scrubbing with the detail brush, find out I have only 1 pair of disposable gloves left (the wife has been know to use them without asking, tut tut). After two buckets of filthy water I have had enough for one session, my hands are were but I have a sense of accomplishment as the wheel looks waaaaay better.
|
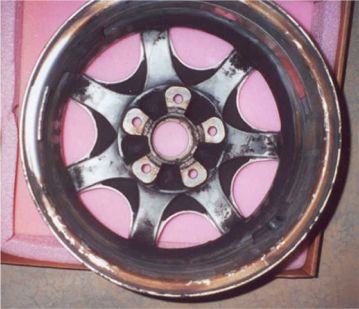
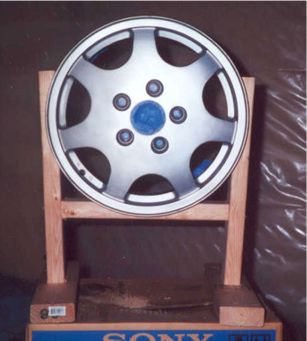
This is as far as a rag, water and alloy wheel cleaner goes. |
|
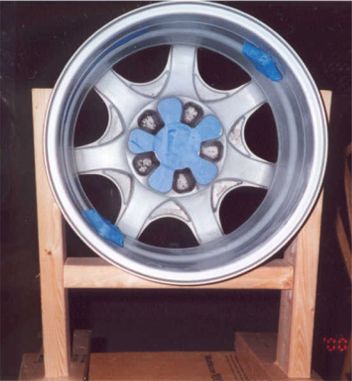
Here is the tire pressure sensor on the inside. |
Cleaning Day 2:
No rush so come back with renewed vigor, off to HomeDepot for a Dremel (OK so I give in to the power) tool, Alcohol cleaner and disposable gloves. I decide to use the wire brush attachment on the Dremel for the real stubborn bits, first I finish of with the detail brush and get all the large areas cleaned and looking very respectable, begin using the Dremel tool and have to go very carefully and use plenty of water to cool the wire cleaning bit.
Complete the front face of the wheel including the lug holes.
Now need to finish the rear part of the wheel behind the front face which is proving to be really difficult as the brake dust is firmly adhere to the paint. Finish this tomorrow.
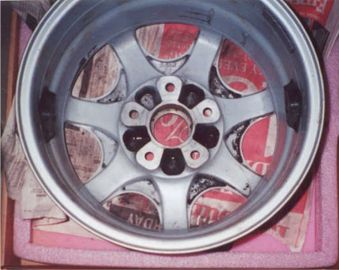 |
First effort with tooth brush and plenty of elbow grease. |
Cleaning Day 3 & 4:
OK so getting the last bits of in-ground filth out took longer than anticipated, just took it easy with the various implements as I didn't want to damage anything. Once happy with the result gave it a good wipe down with the Alcohol cleaner. Ready for paint ......
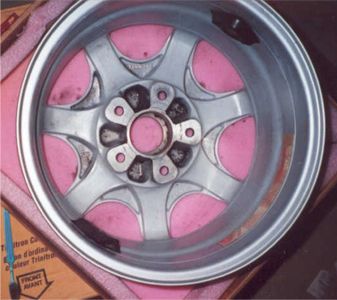 |
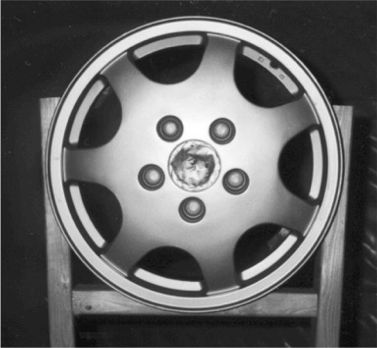
Looking a lot more respectable. |
 |
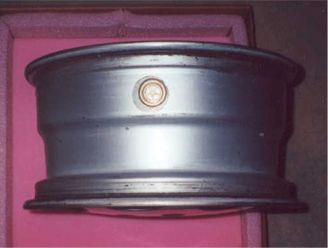
Note the expensive support ..., front face ready for paint |
 |
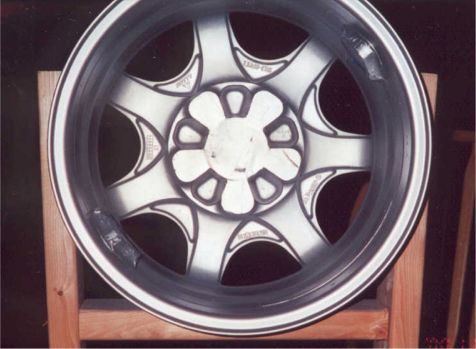
And here is the rear |
Spraying the silver:
To get this done took about a week, to begin with I was spraying about 10" from the surface but was getting chronic overspray, however, if I got too close the pressure from the can was too great causing runs AND overspray. Ended up doing a lot of sanding and masking and then spraying smaller areas of the wheel at any one time, this whole process must have taken about a week of evenings and more than a can of paint.
 |
Looking good (from a distance anyway) |
 |
Spraying the Laquer:
I had left the last silver coat nearly two days when I first sprayed the laquer, aaaaaaagghhhhhhh, should have left it longer. Basically the silver lifted in the areas which hadn't cured long enough but I didn't notice it until I had sprayed waaay too much. Back to the sanding and then recoating the damaged areas with silver, wait and then reapply the laquer. Live and learn.
Finally sanded with some very fine wet and dry to get a silky smooth surface.
Need to add photos.
Center Caps:
As you can see the caps have had a chequered history and it had always bugged me that they were different, GT90 wheels came with plastic center caps finished in silver so I decided to do this with mine for a number of reasons. I would have had to strip the paint to if I was going to hand paint the crest to get the sharp detail and after the agro with the wheel I roughed up and sprayed silver. They can always be stripped and hand painted later if need be.
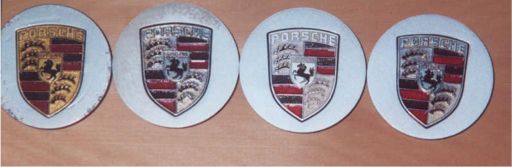 |
As you can see quite a mixture of colors. |
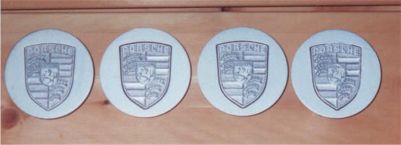 |
Much more clean looking. |