Interior
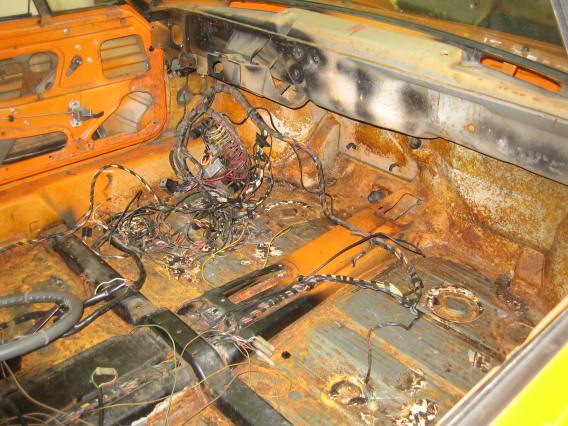
When you first look at the floors in a 914 they generally look pretty good, but that is because the metal is hidden under a layer of tar like sound proofing. This comes off in clumps when there is rust underneath and sticks like a mother when there is not, a hot air gun and a 1/2" wood chisel and patience are the key to getting the stubborn stuff removed.
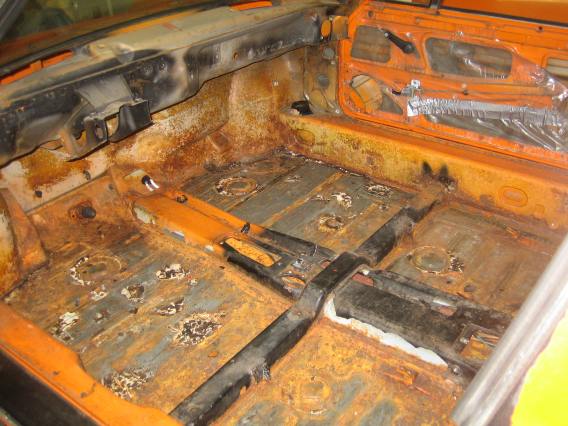
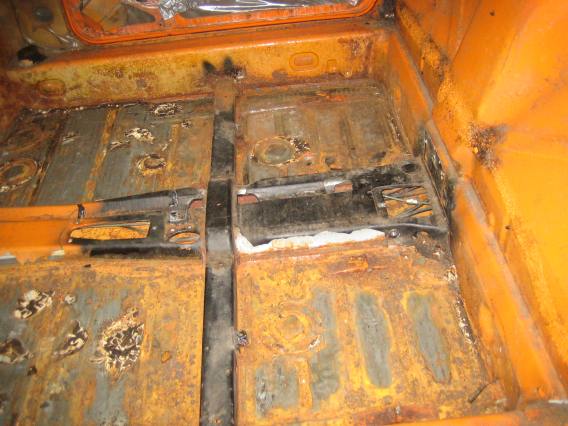
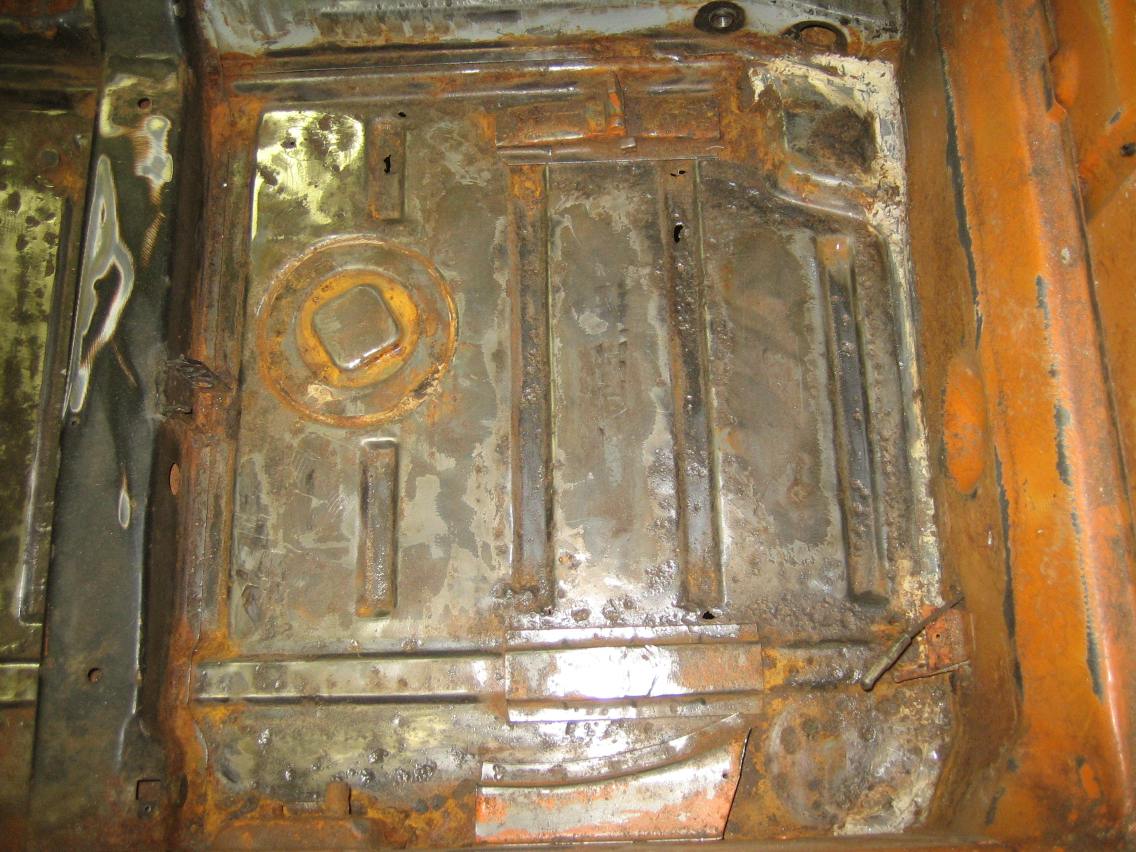
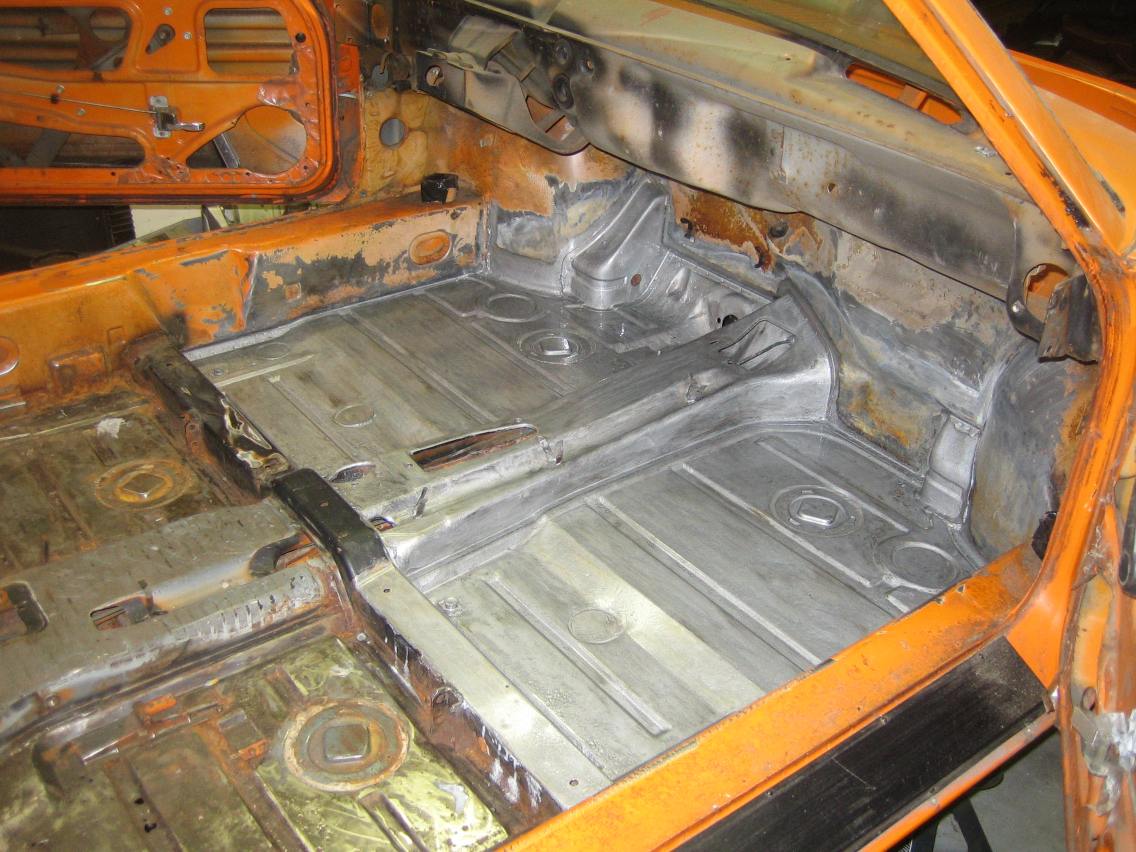
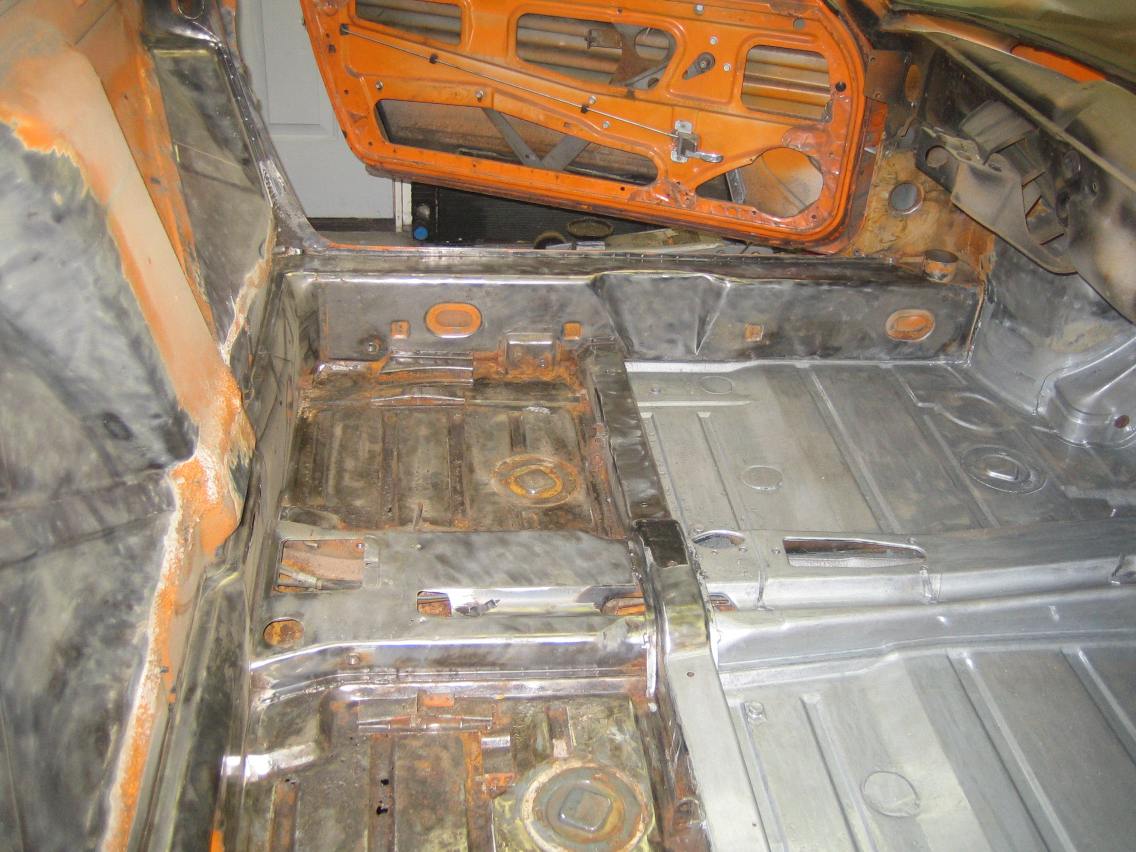
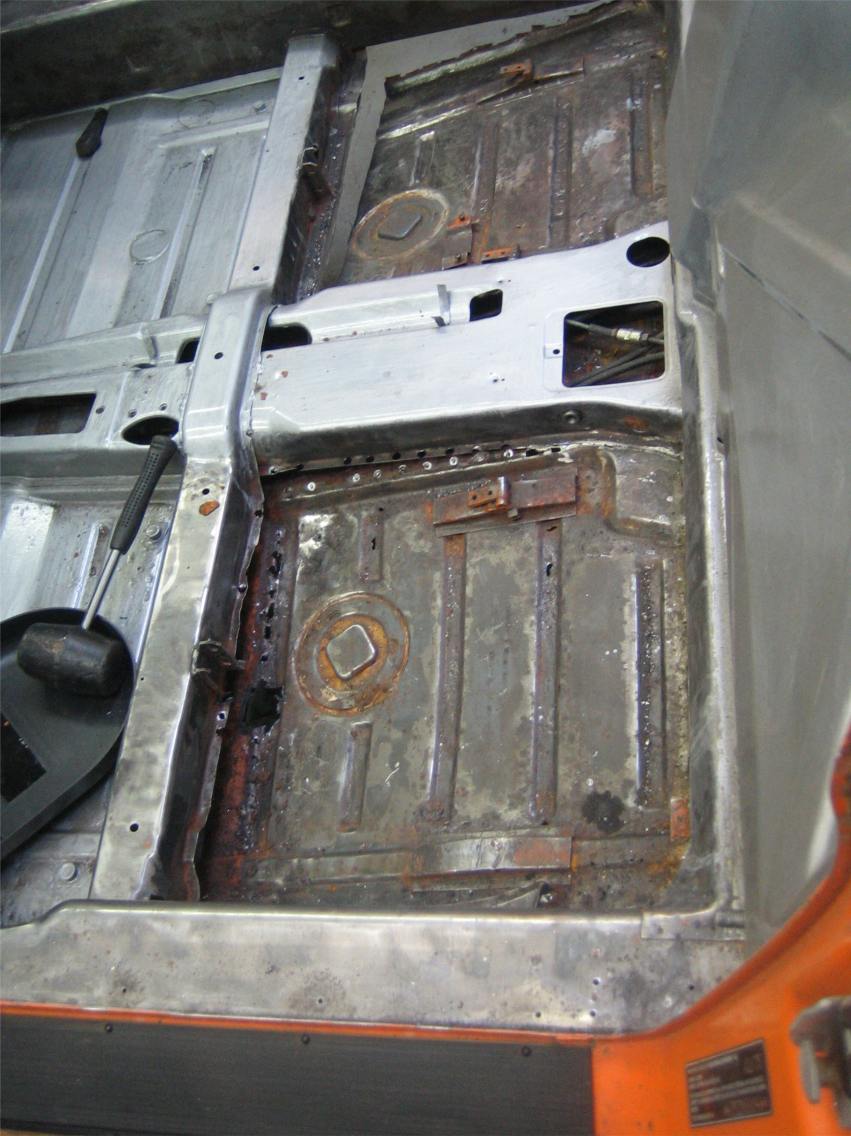
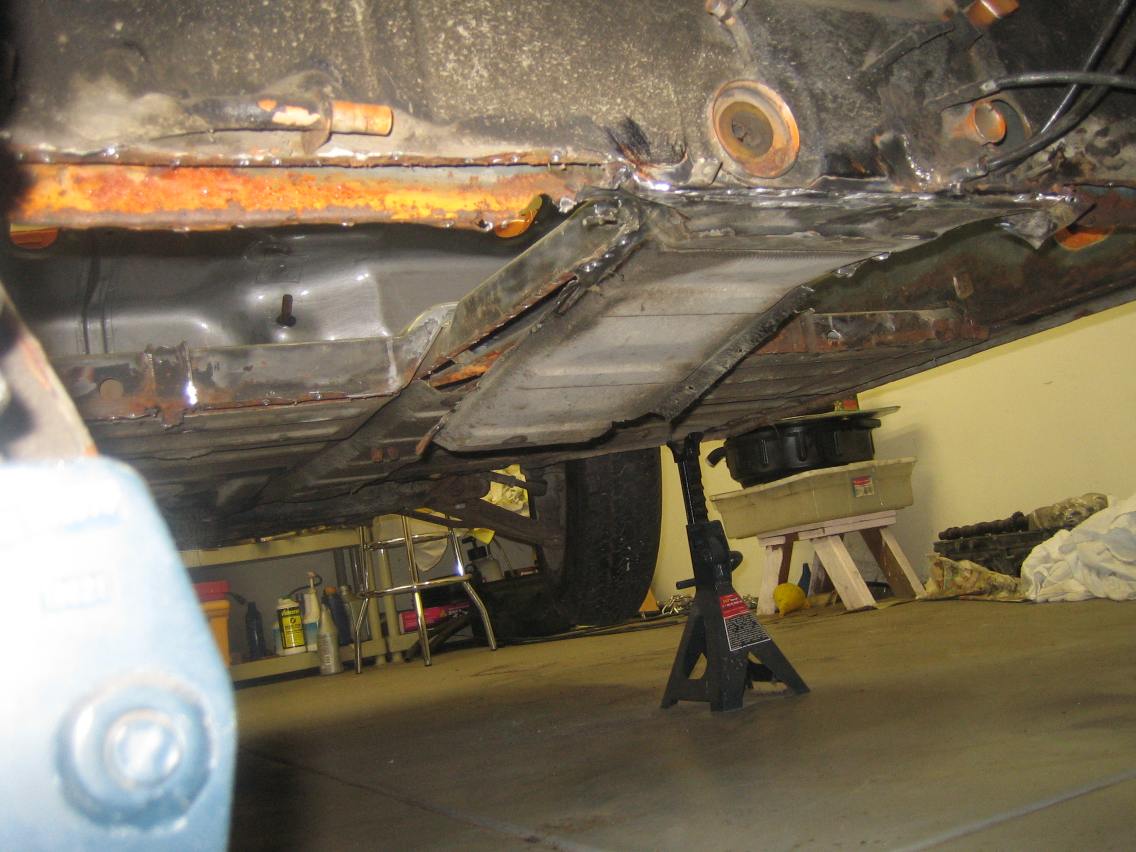
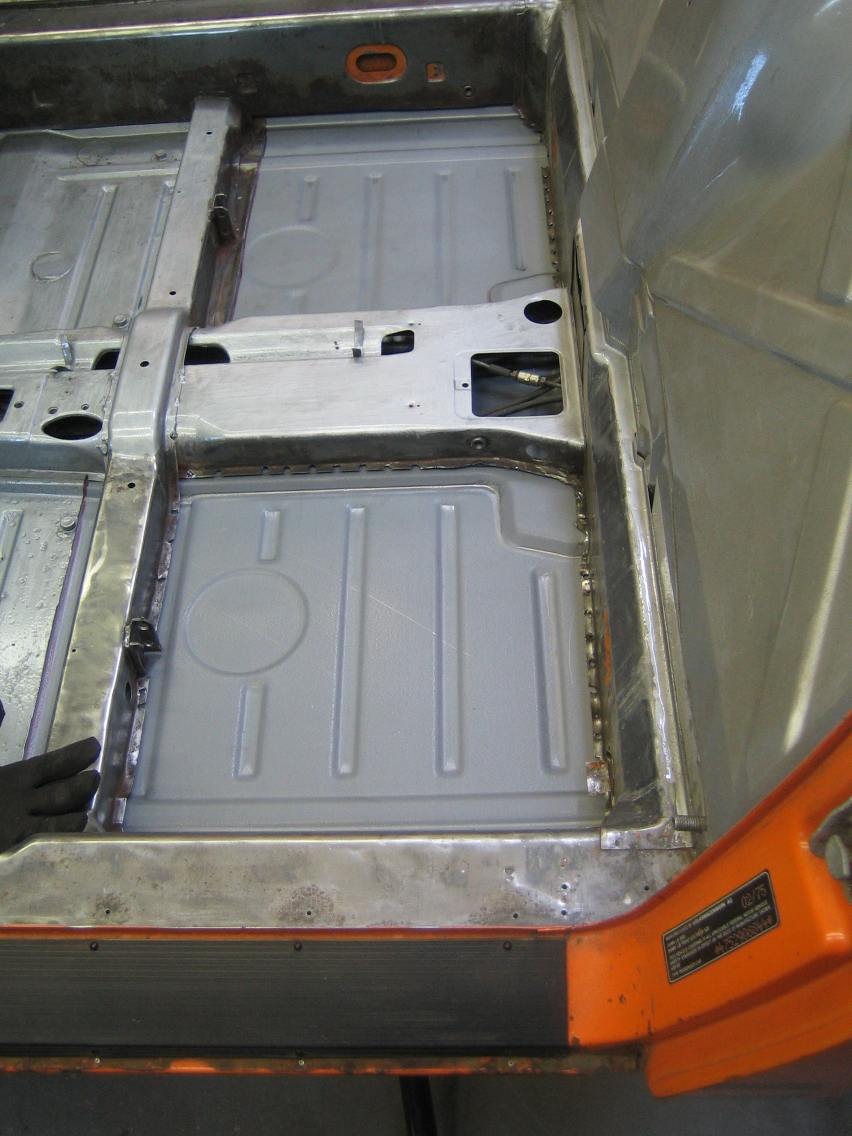
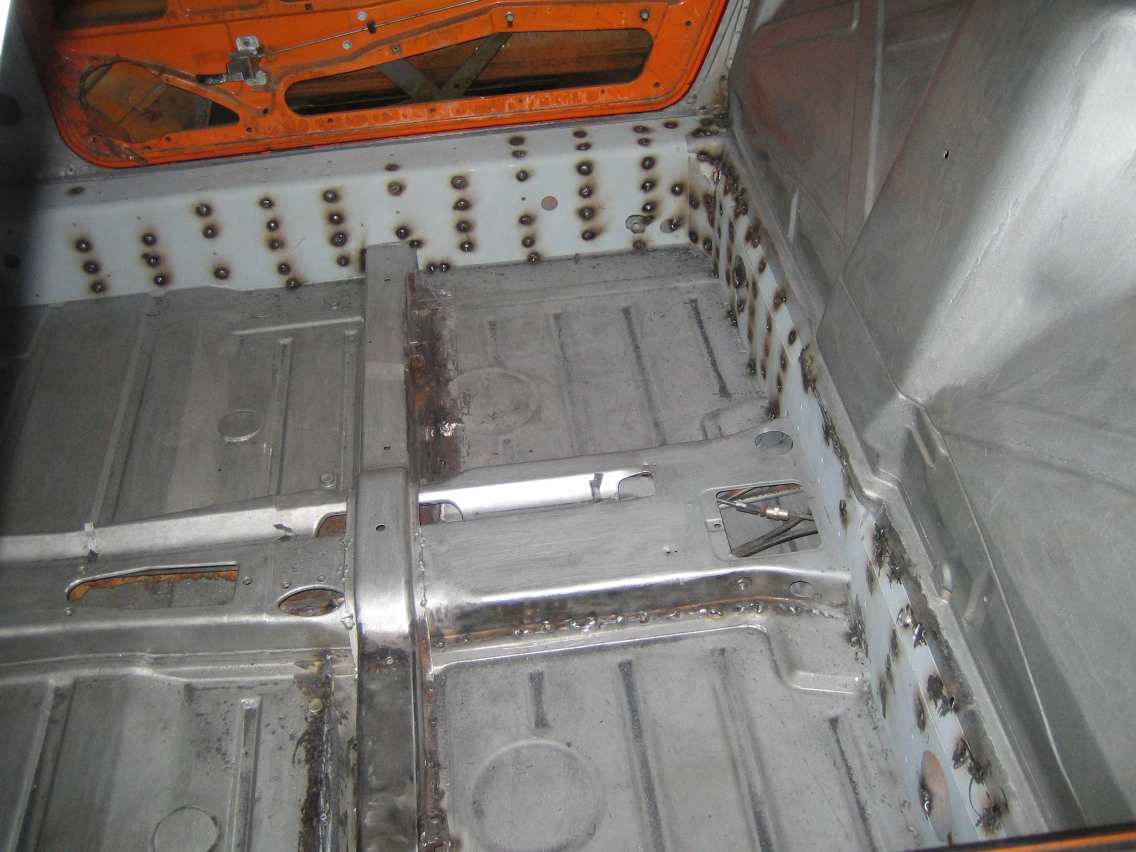
Some pictures with the sound proofing removed, the rear pans are pretty bad and will need to be replaced.
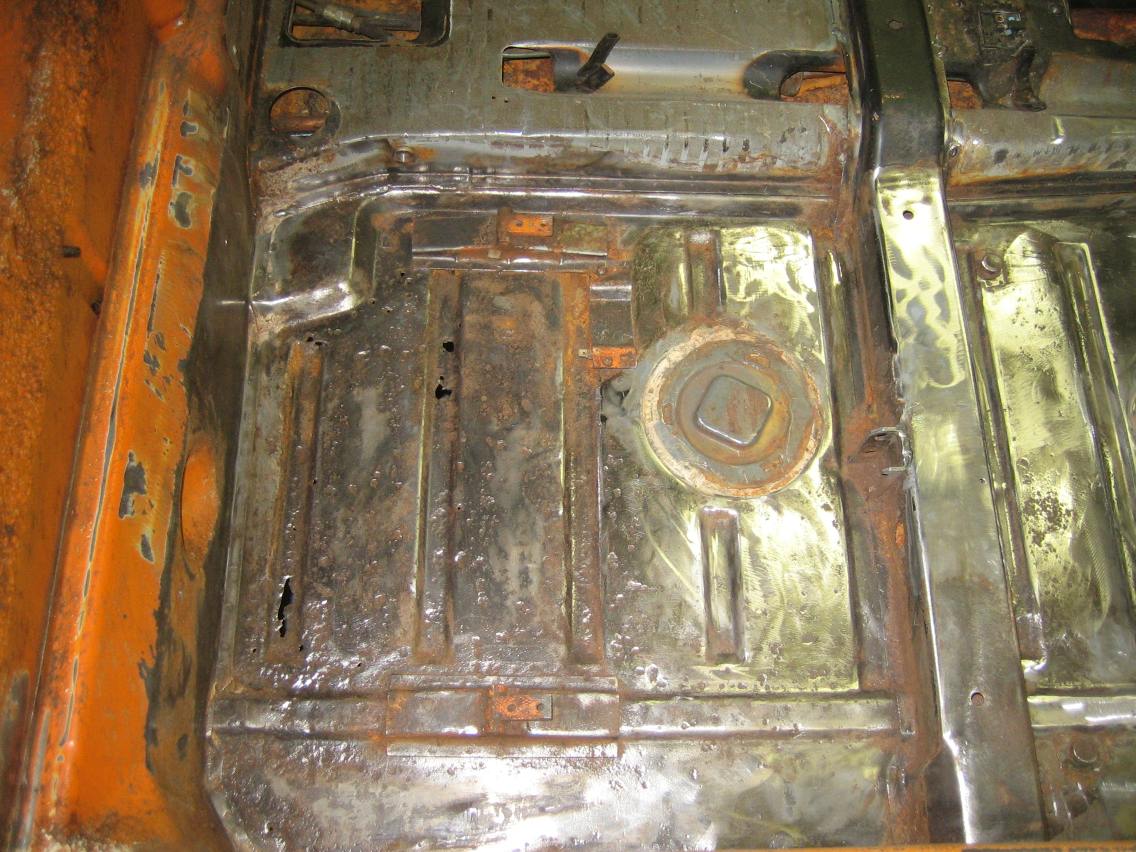
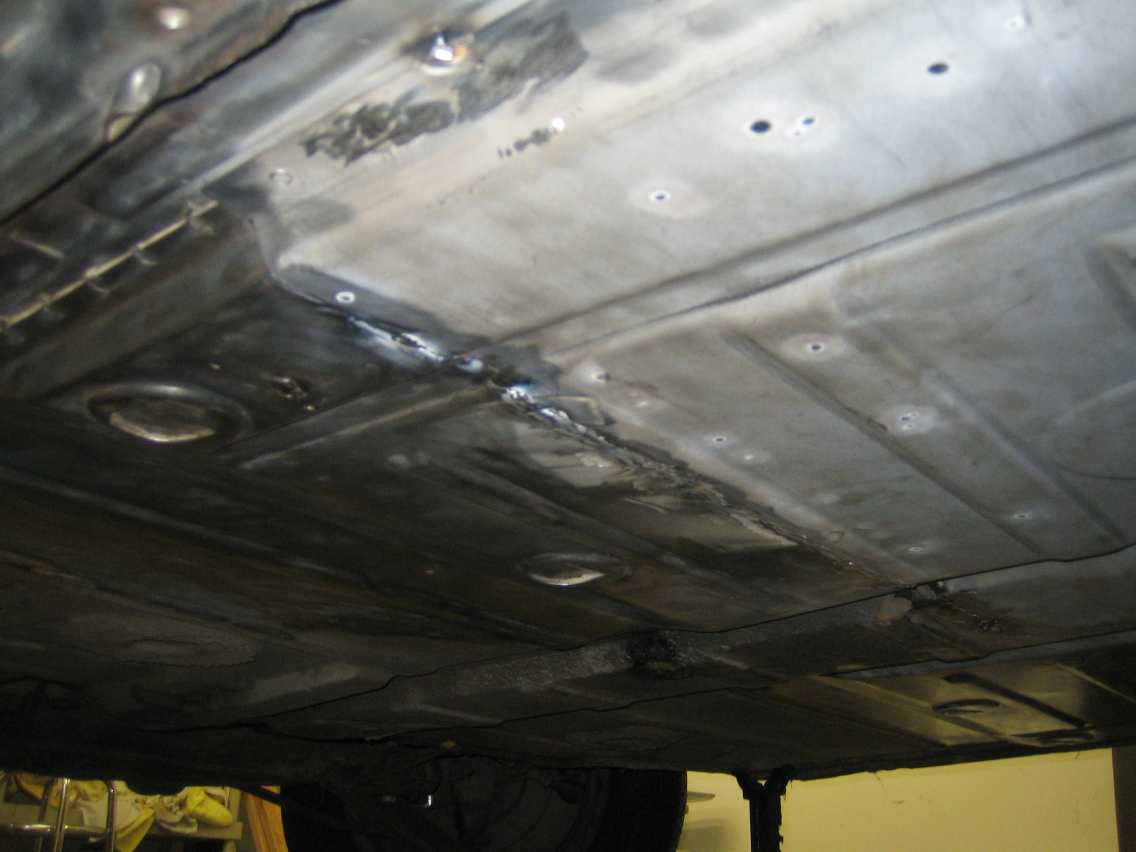
Underneath looks nice and solid so all this rust came from the inside, leaking seals etc .. After attacking with a the grinder and a wire brush attachment it looked like this.
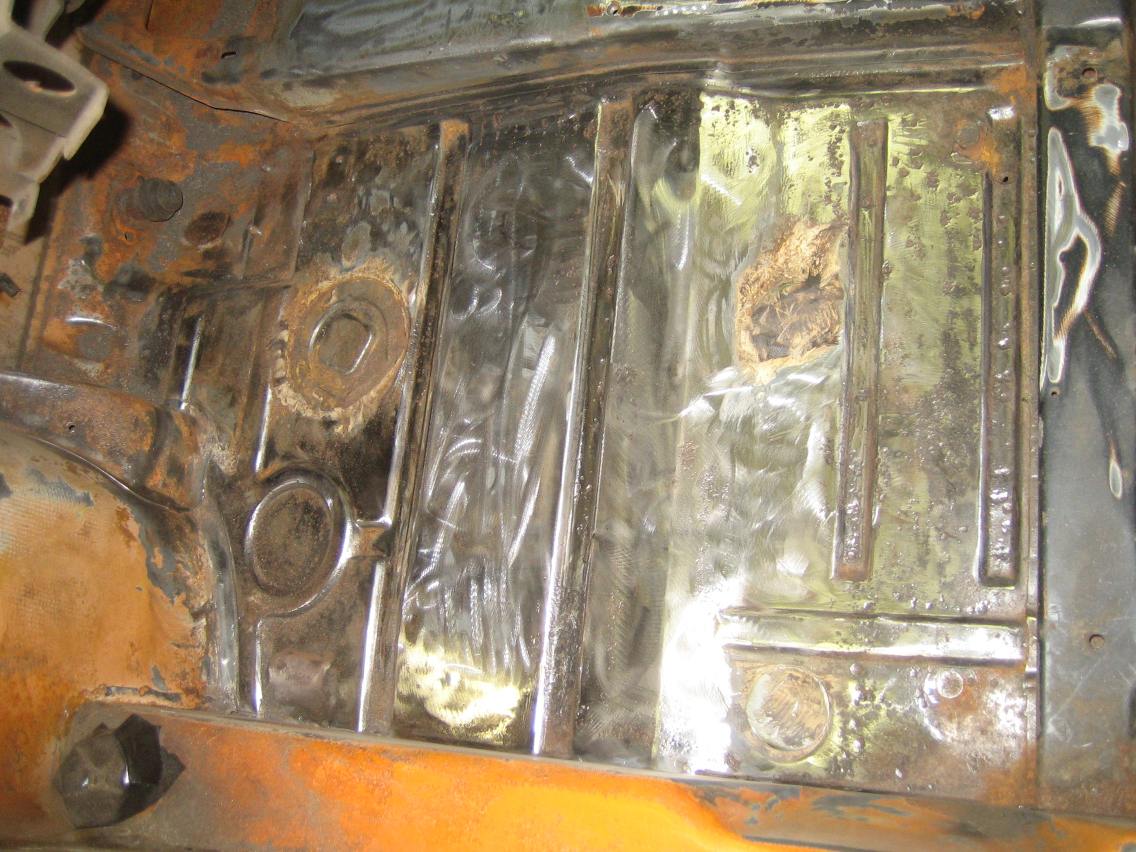
Rear pans have lots of small holes and the metal is thin.
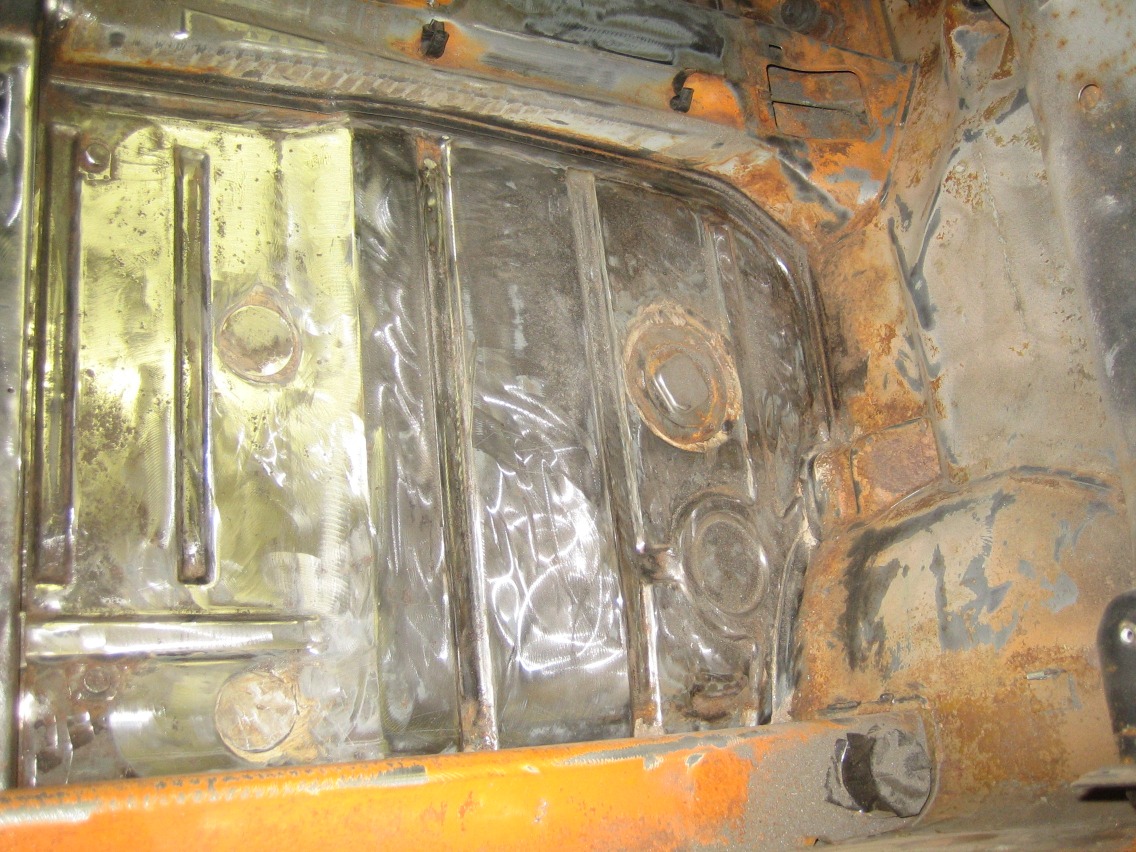
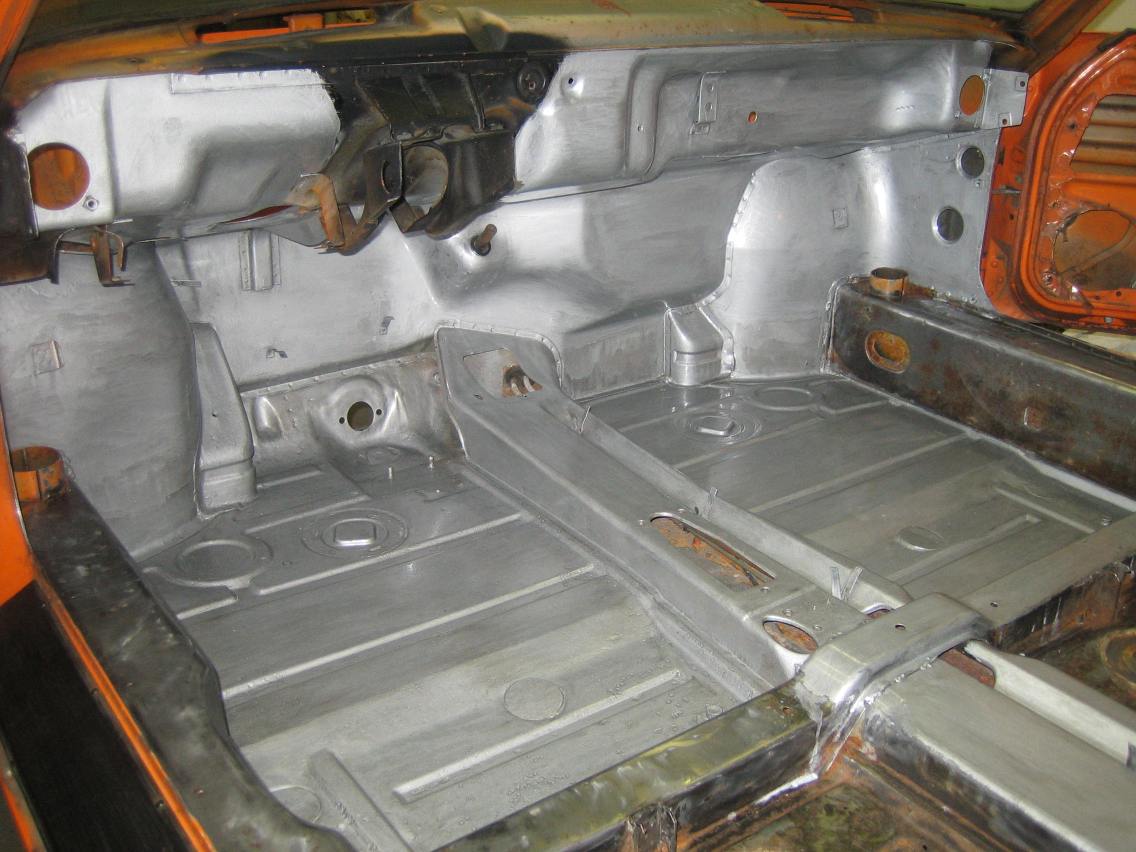
Front pans look much better
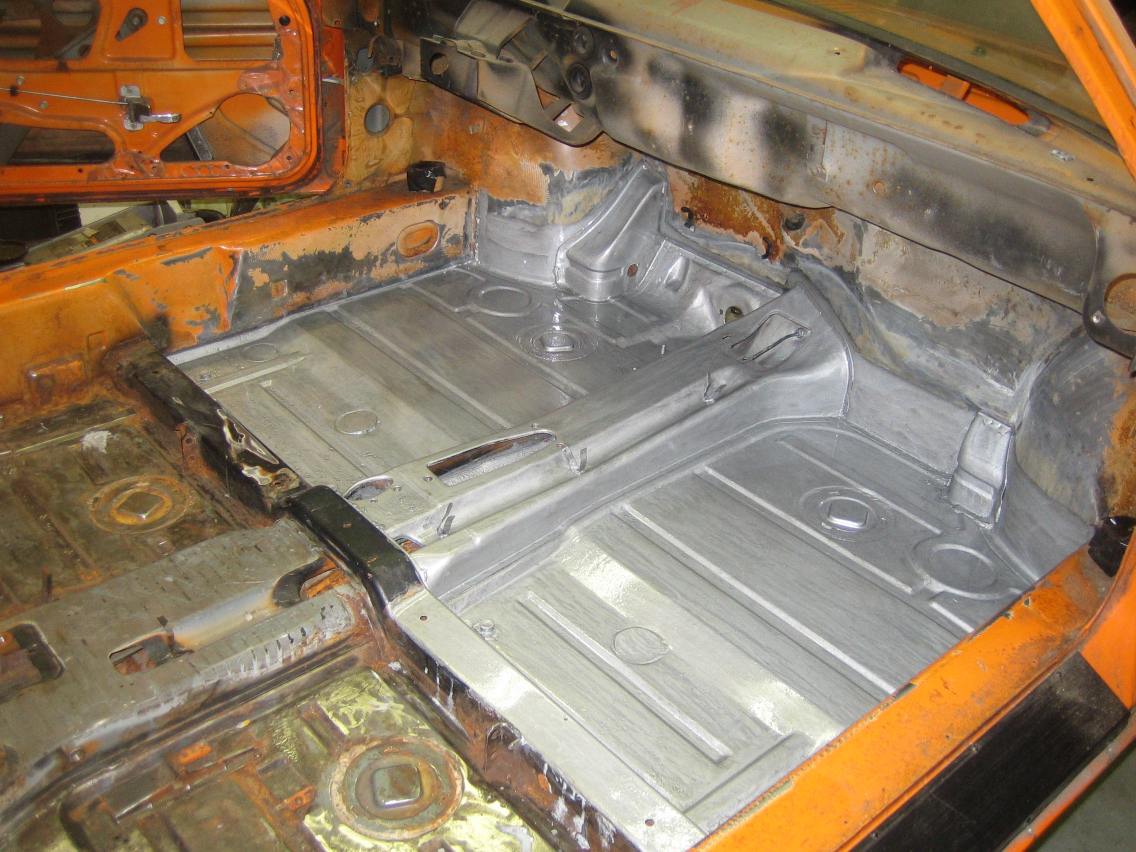
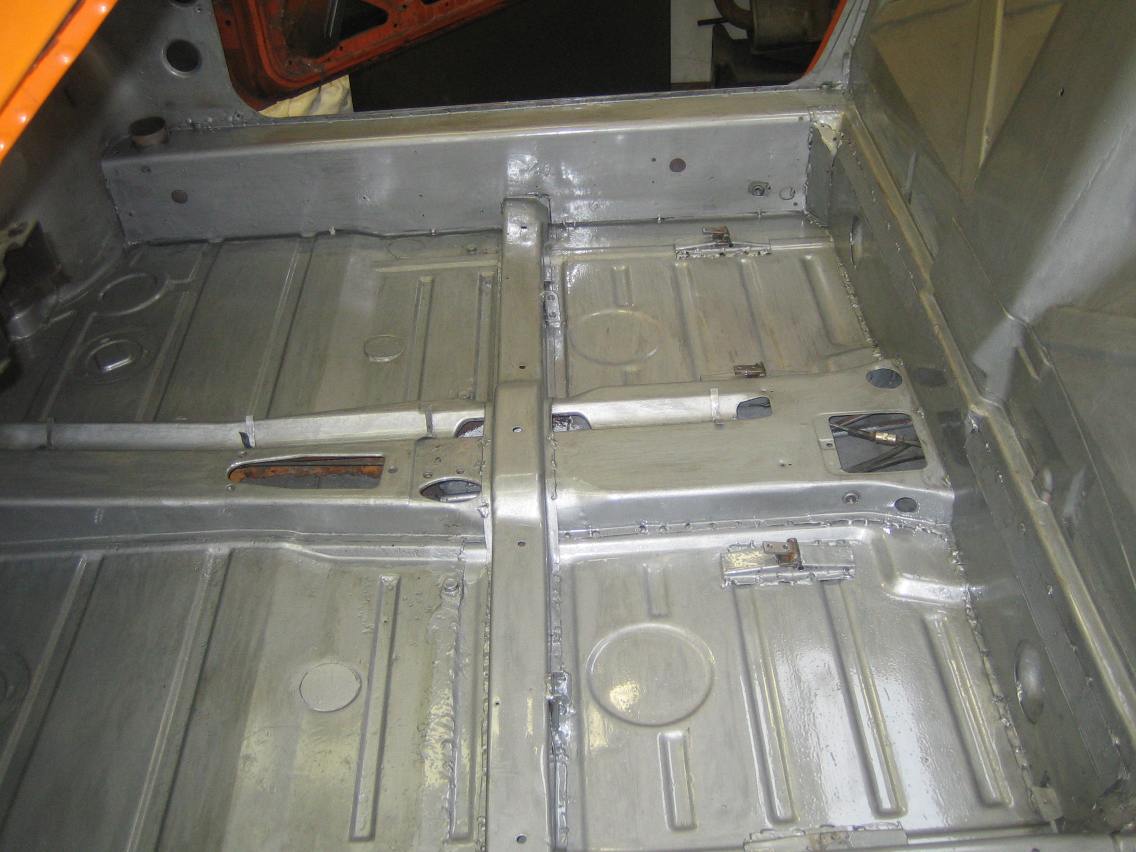
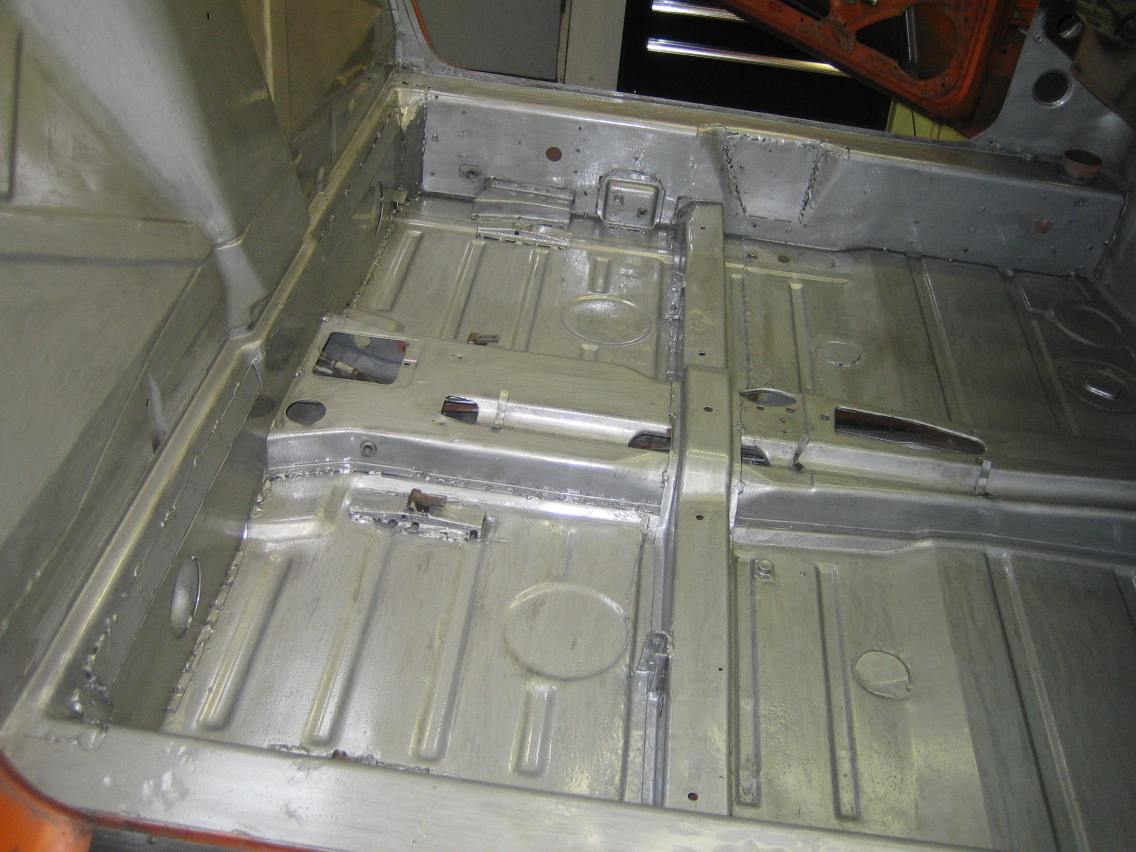
I do not have a compressor yet so for corrosion protection epoxy primer was out, I settled on POR-15 instead which people either love or hate. I cleaned with the Marine Clean, prepped with Metal Ready before applying two coats of silver POR-15. Why did I not wait until I had finished stripping the interior? Because I wanted to see some forward progress ....
After Metal Ready, 1st coat of POR and then 2nd coat
I ordered a new rear pan from restoration design , an inner long strengthening kit from Engman and some more POR-15 as I was pleased with how the first application turned out.
Another factory application is seam sealer, this applied to prevent water wicking up between welded seems and the factory applied it as though it was going out of fashion. It is much tougher to remove than the sound proofing but it must be removed for the inner long kit to fit. Heat gun and wood chisel, patience and cursing (makes you feel better anyway) is one way and when you get bored the wire wheel on the grinder works but makes an awful mess.
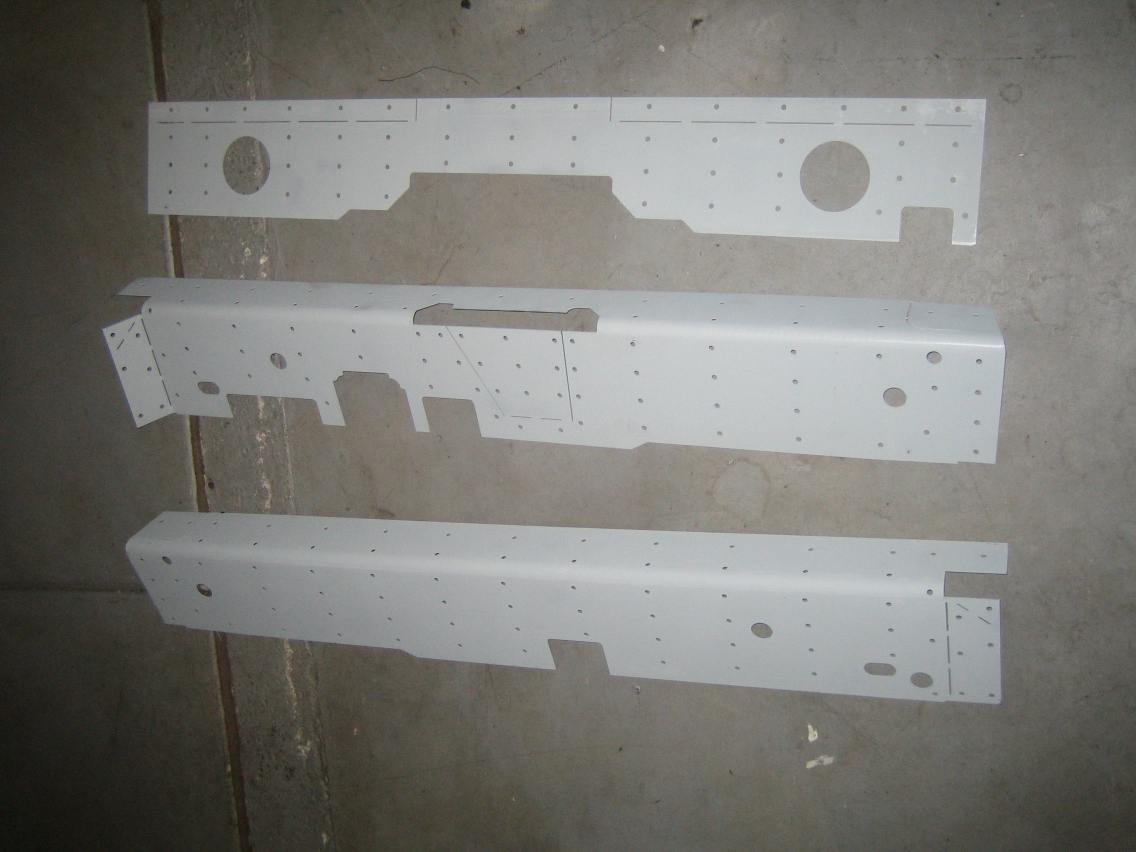 This will help the car handle the extra power, nothing but good reviews for this
kit.
This will help the car handle the extra power, nothing but good reviews for this
kit.
Where the long kit fits will be primed with weld thru primer, anyway interior is gradually getting stripped of the paint, once finished this interior won't need attention for looong time.
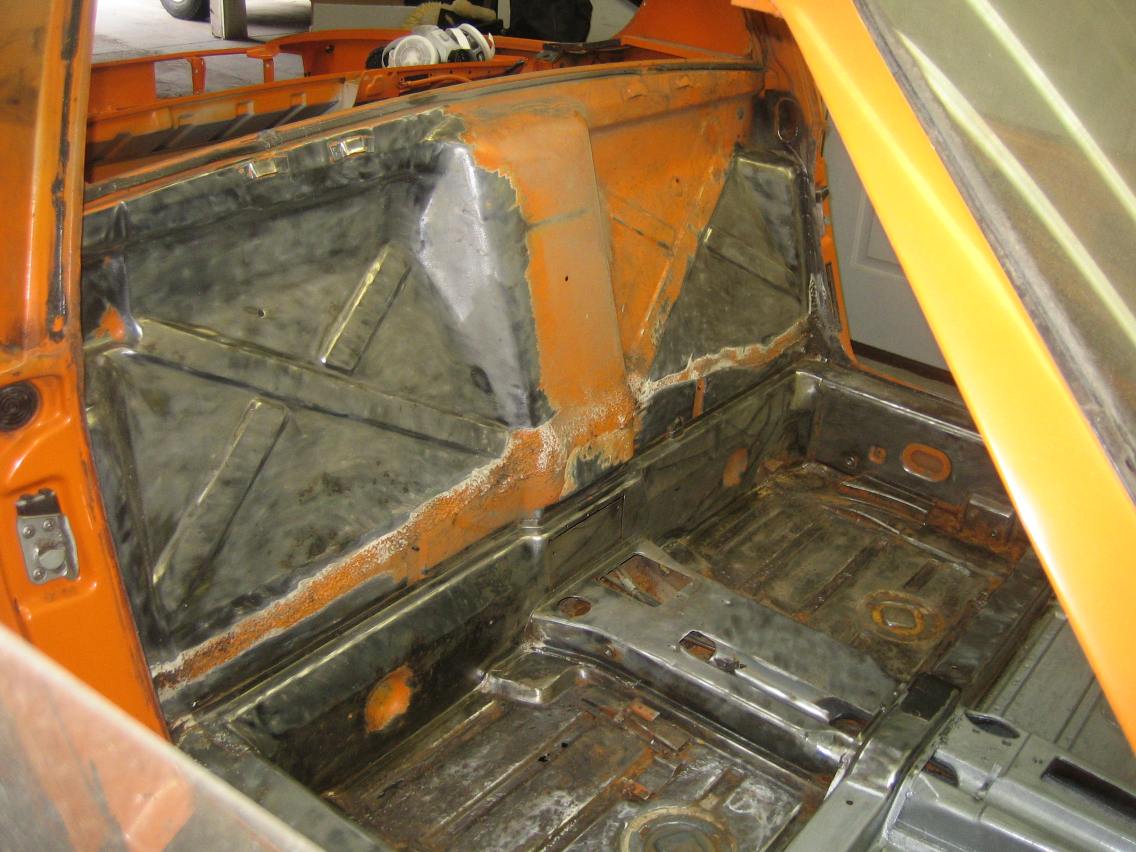
Still waiting for the rear pan (should be here next week) so worked on removing the rest of the paint from the rear bulkhead and then prepping and painting. I
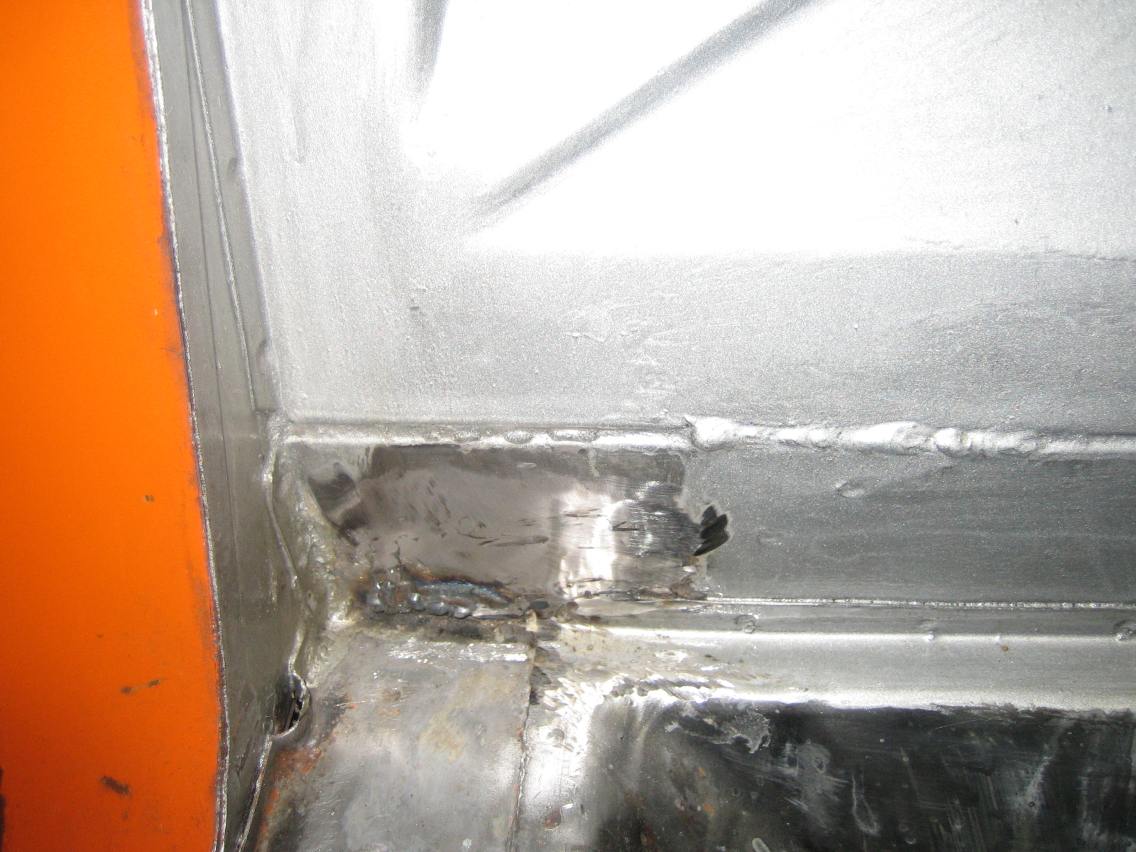
I cut out a square and patched a small area where the metal was really thin, cam out pretty good but need a smaller grinder to get to the bottom weld !
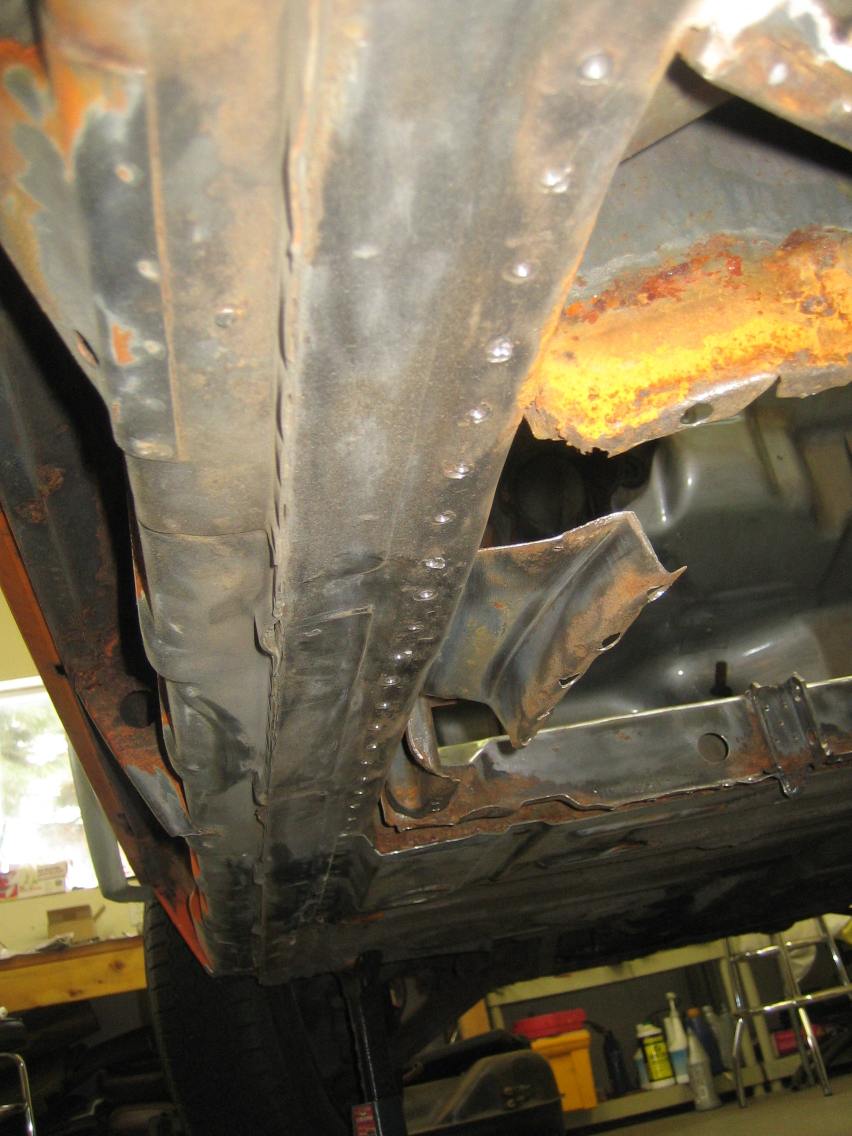
So the new pan arrived and I decided to cut out the old one, this job sucks mainly because of all the spot welds that have to be drilled out under the car. Here you can see the welds drilled on the drivers side. At the rear center someone for some strange reason had seam welded the pan, this is going to be a pain to separate as I do not want to lose all of the flange.
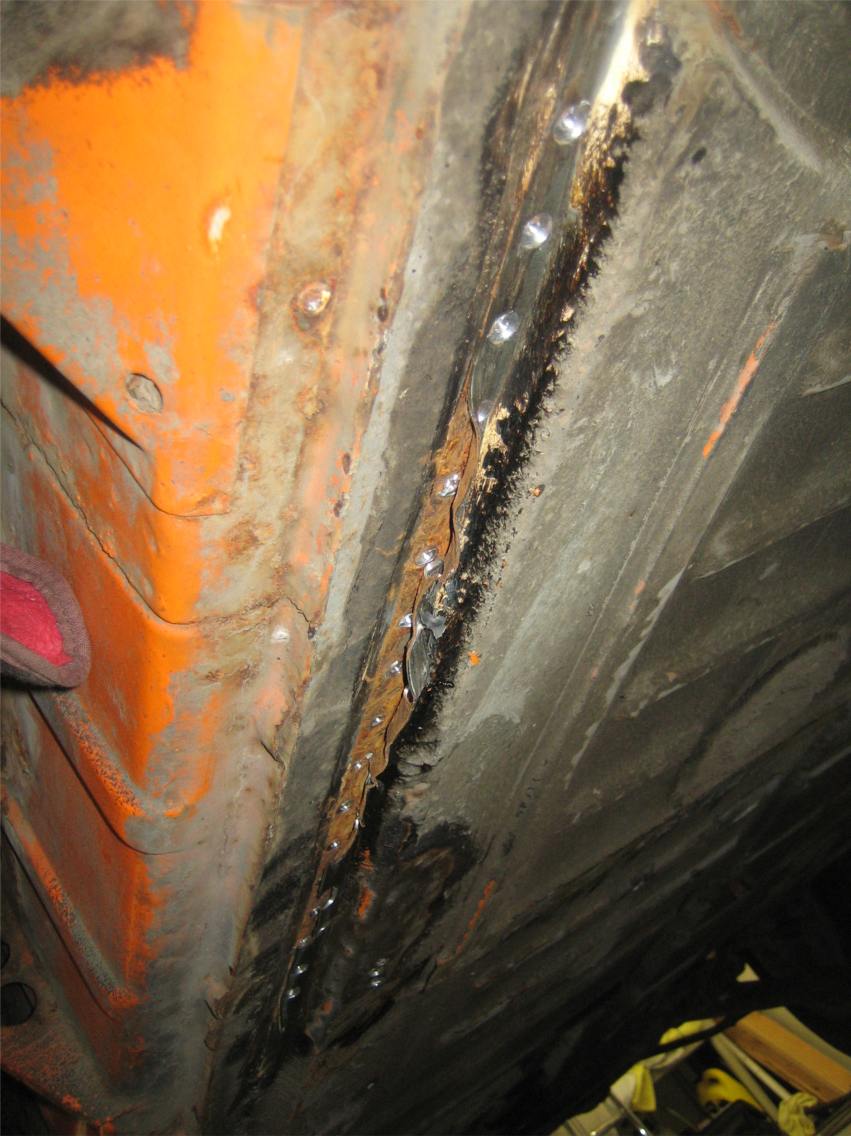
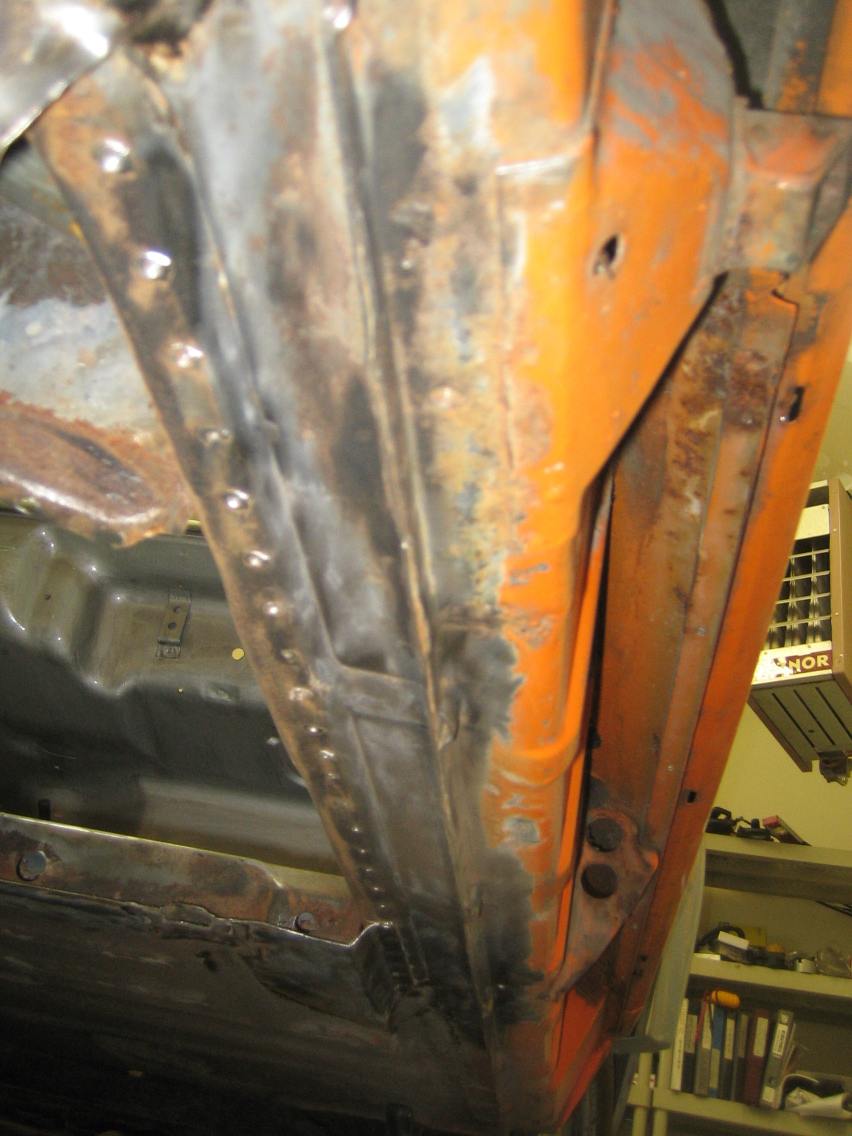
Once I cut a line and drilled out all the spot welds I could find the pan began to separate after a few blows with a hammer. I decided to call it quits when I got to the rear weld so I cut out the big pieces and left the last bit to be removed another day. Going to needs plenty of clean up and prep before the new pan is ready to be fitted and welded in.
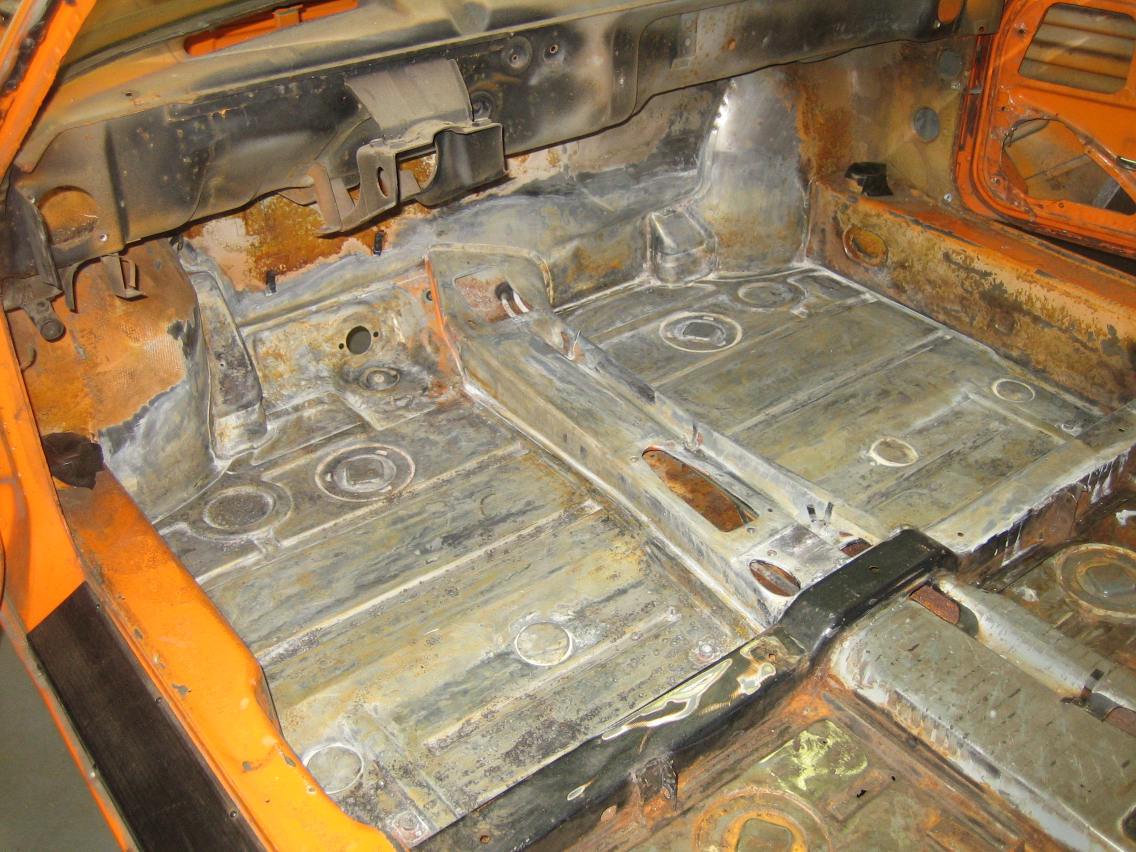
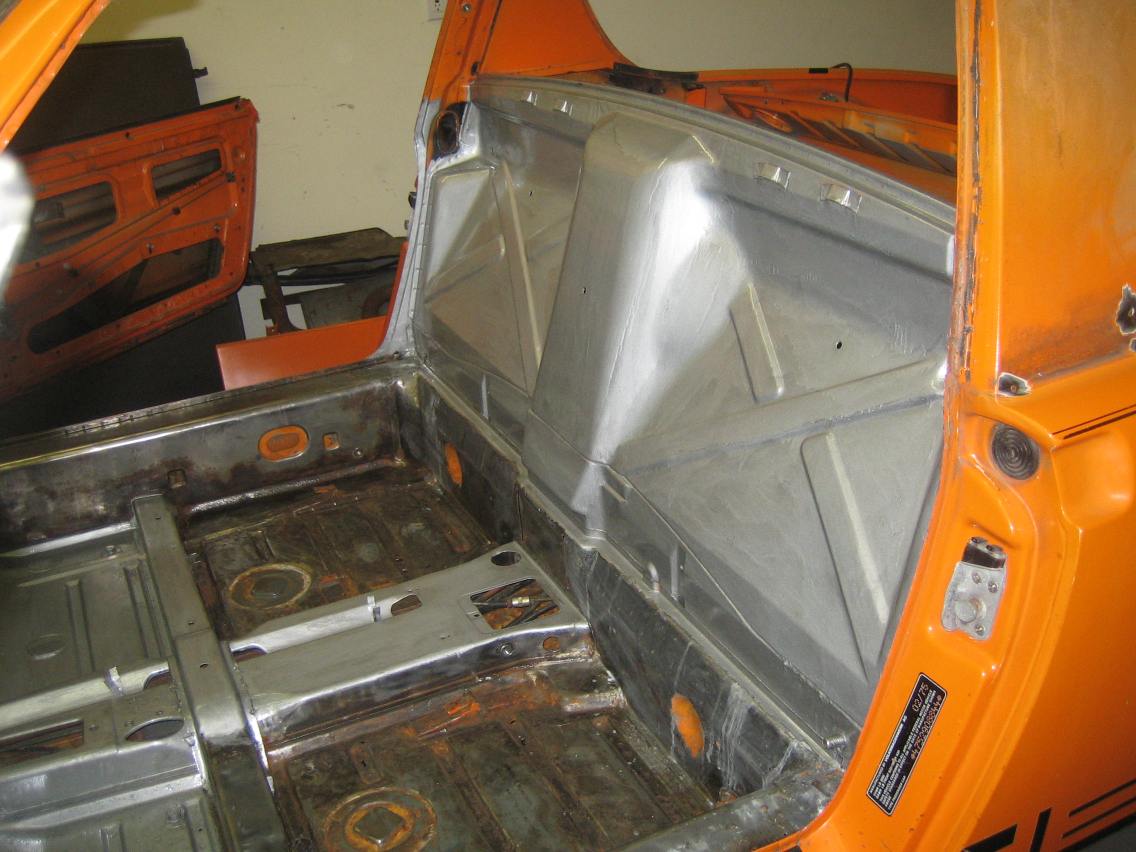
Spent a little time with with the wire wheel cleaning, I will finish the underside of the interior pans over the next couple of weeks but the metal looks to be in pretty good condition so far. The rear of the floor pan goes underneath the rear jacking points so will have to replaces these too, final shot is the inside of the lower bulkhead.

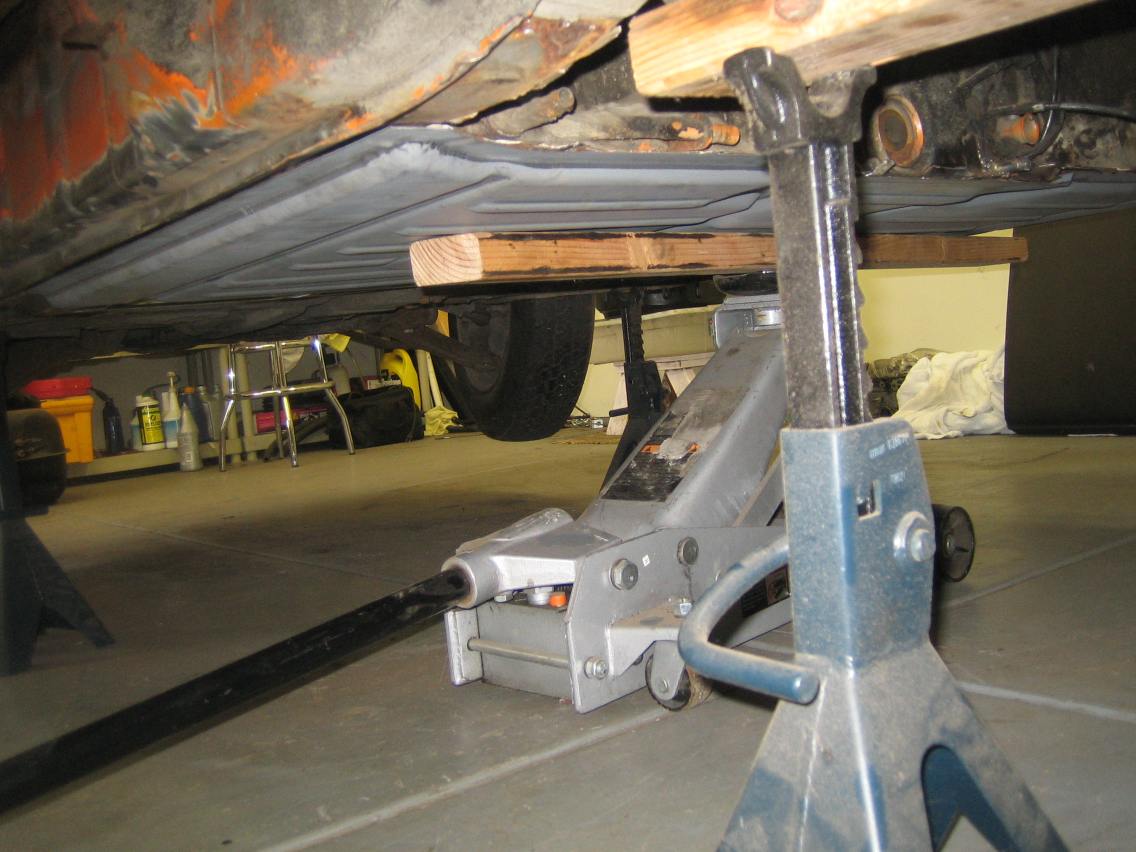
More time on my back doing prep work, the new pan actually covers more area than I thought so I remove a bit more of the drivers side pan where the metal had seen better days. Although the extra 30 odd spot welds to be drilled made me question my sanity. I carefully fitted the new floor pan before marking and cutting, a jack and a 2x4 worked great for applying even pressure.
Before I welded it in I decided to treat the hidden areas with POR-15 which took time but hopefully will help keep the dreaded rust at bay for a long time to come. It was tough to get coverage everywhere due to access though.
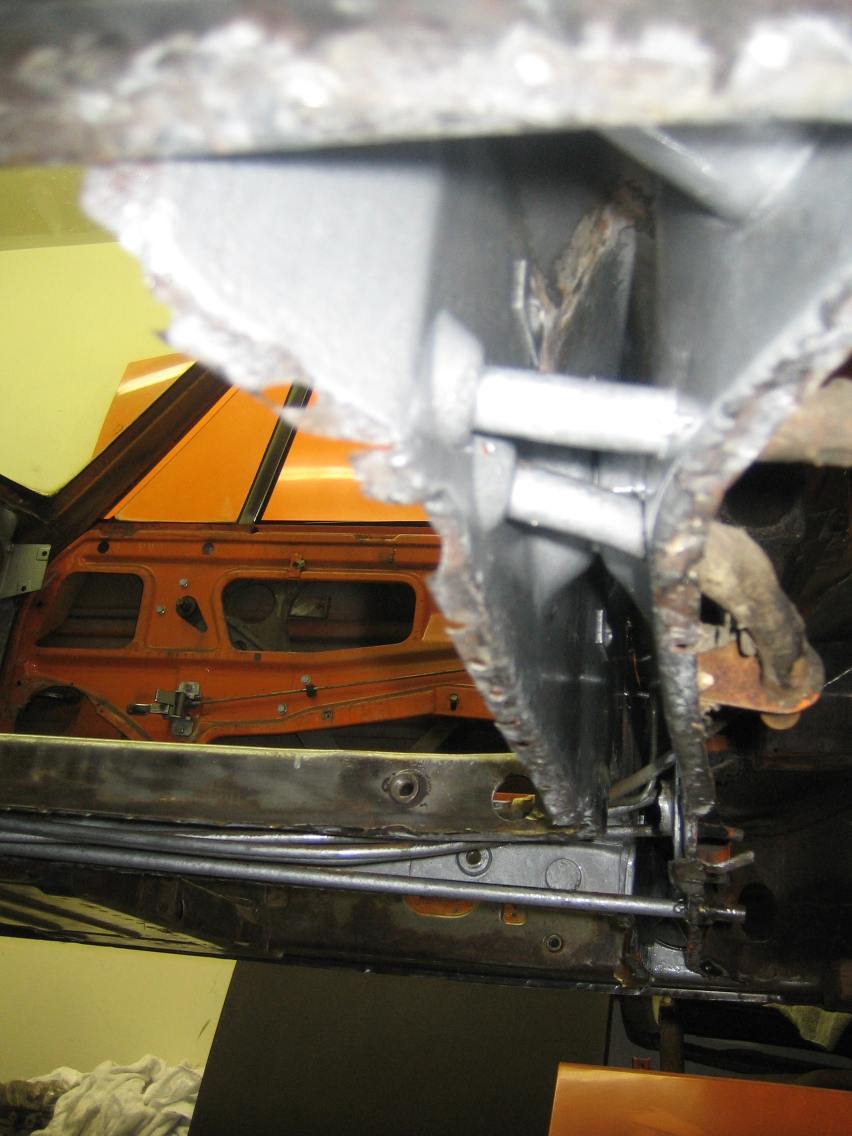
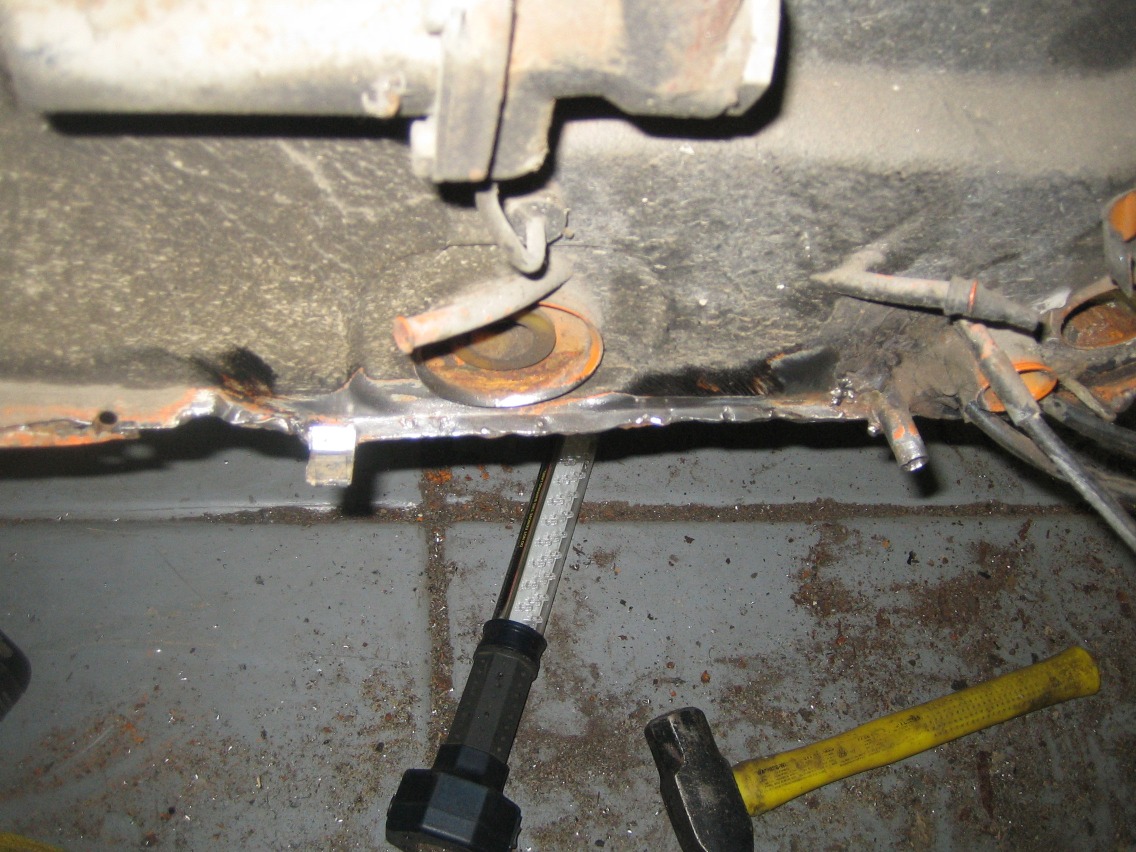
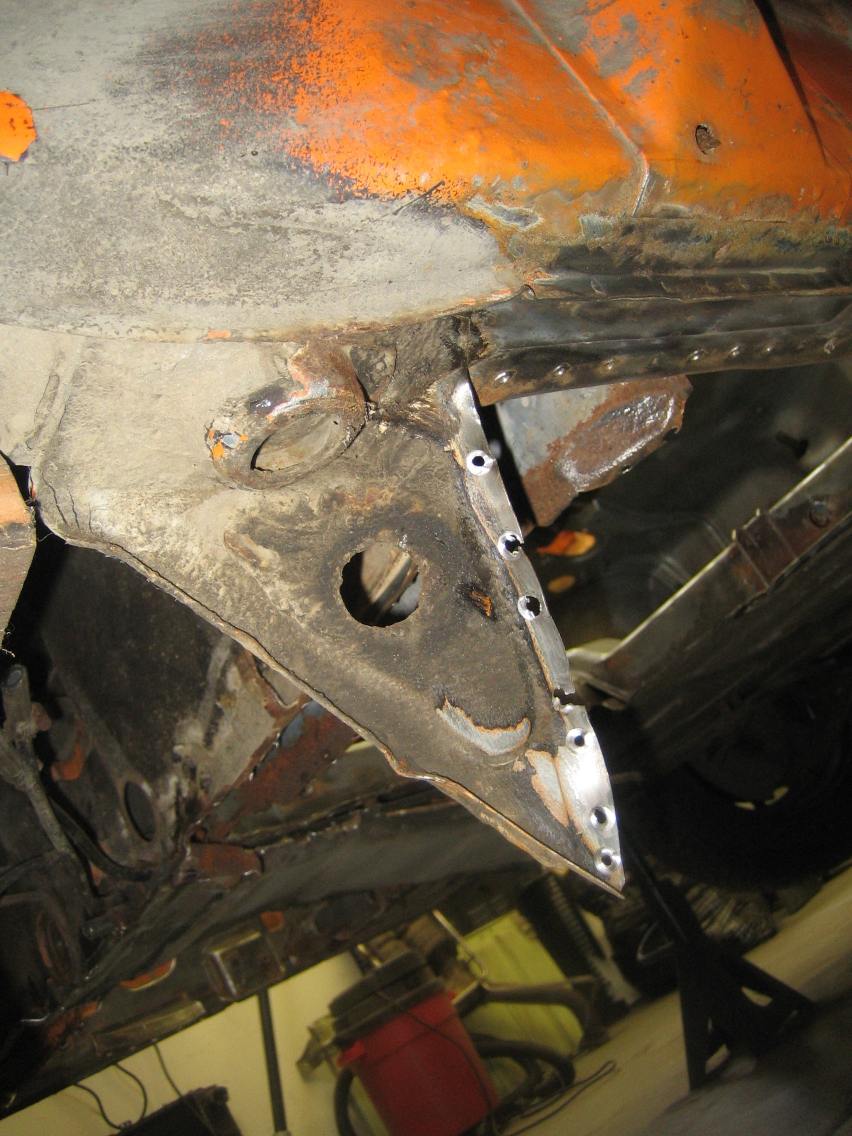
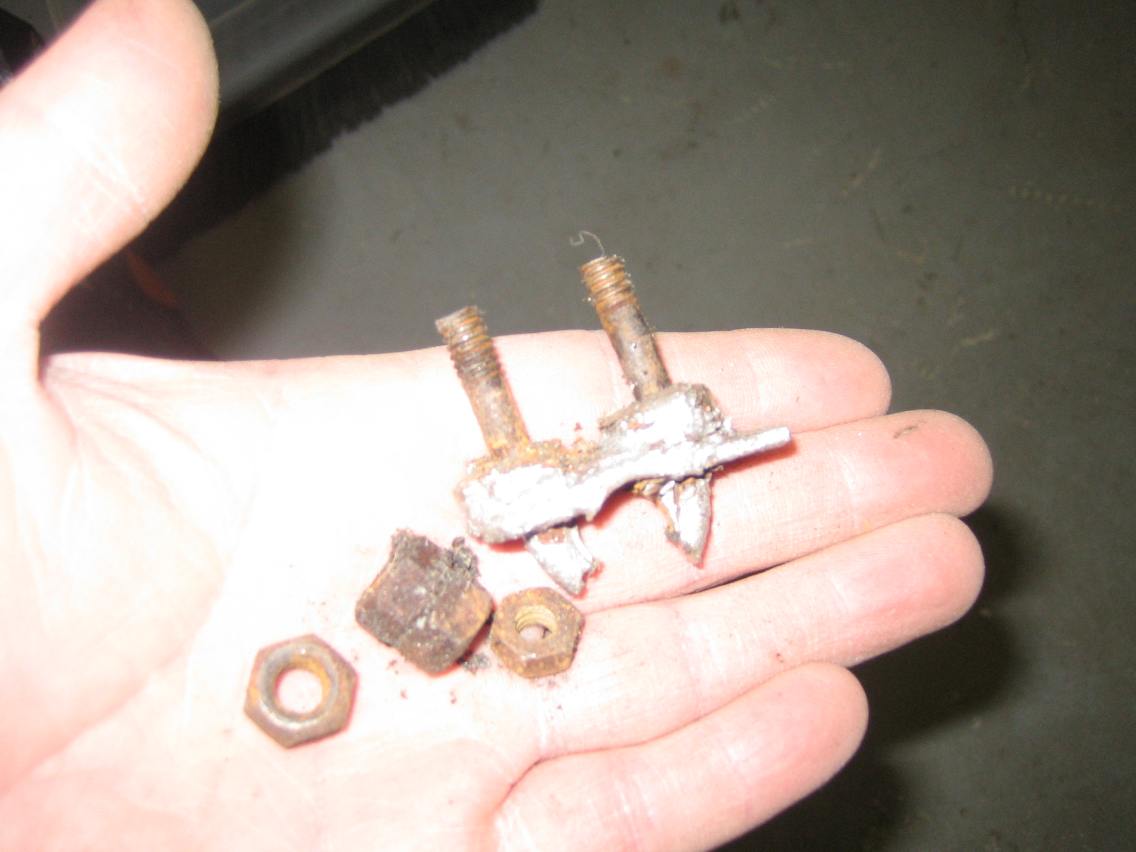
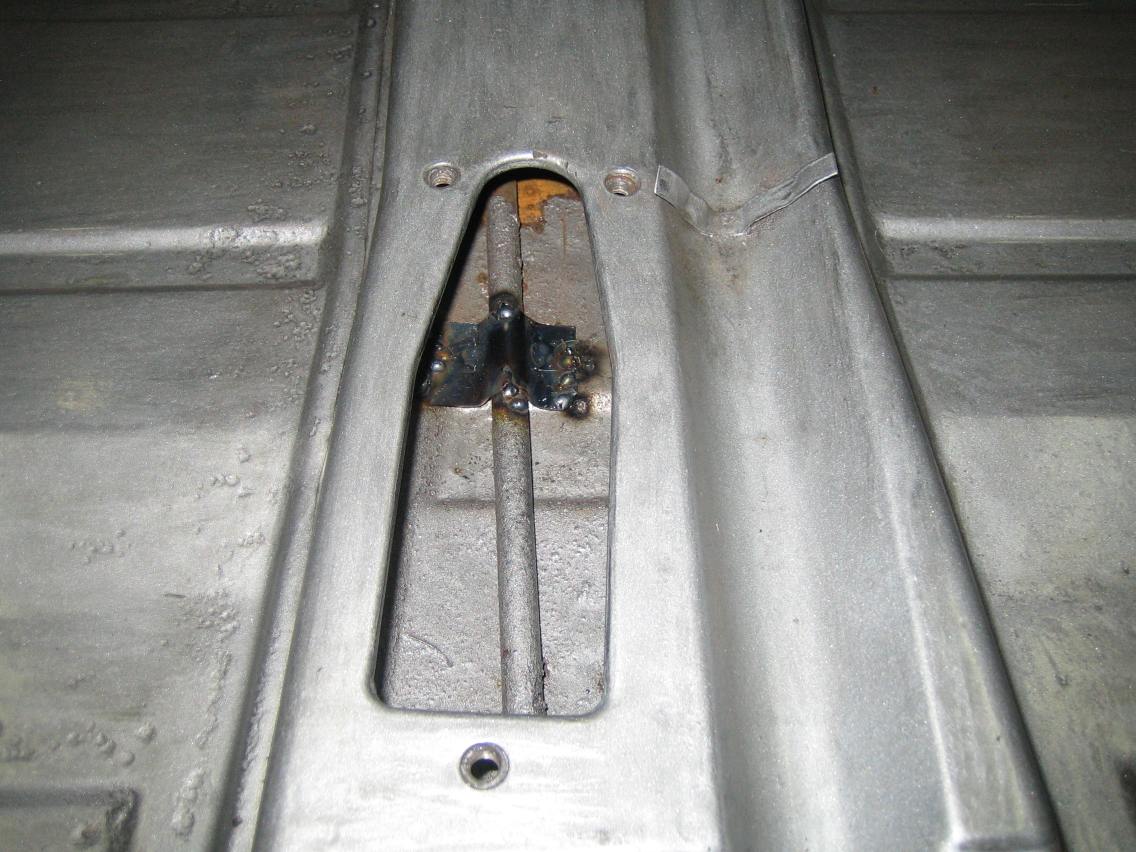
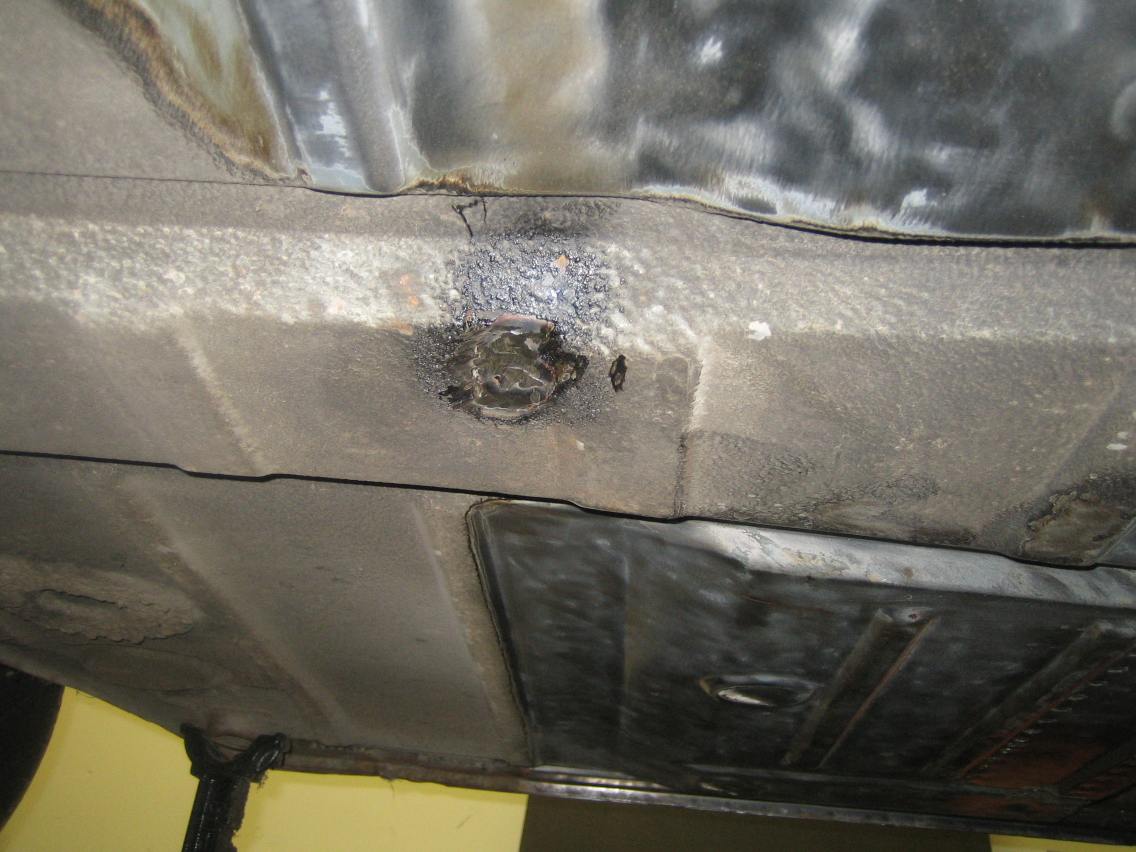
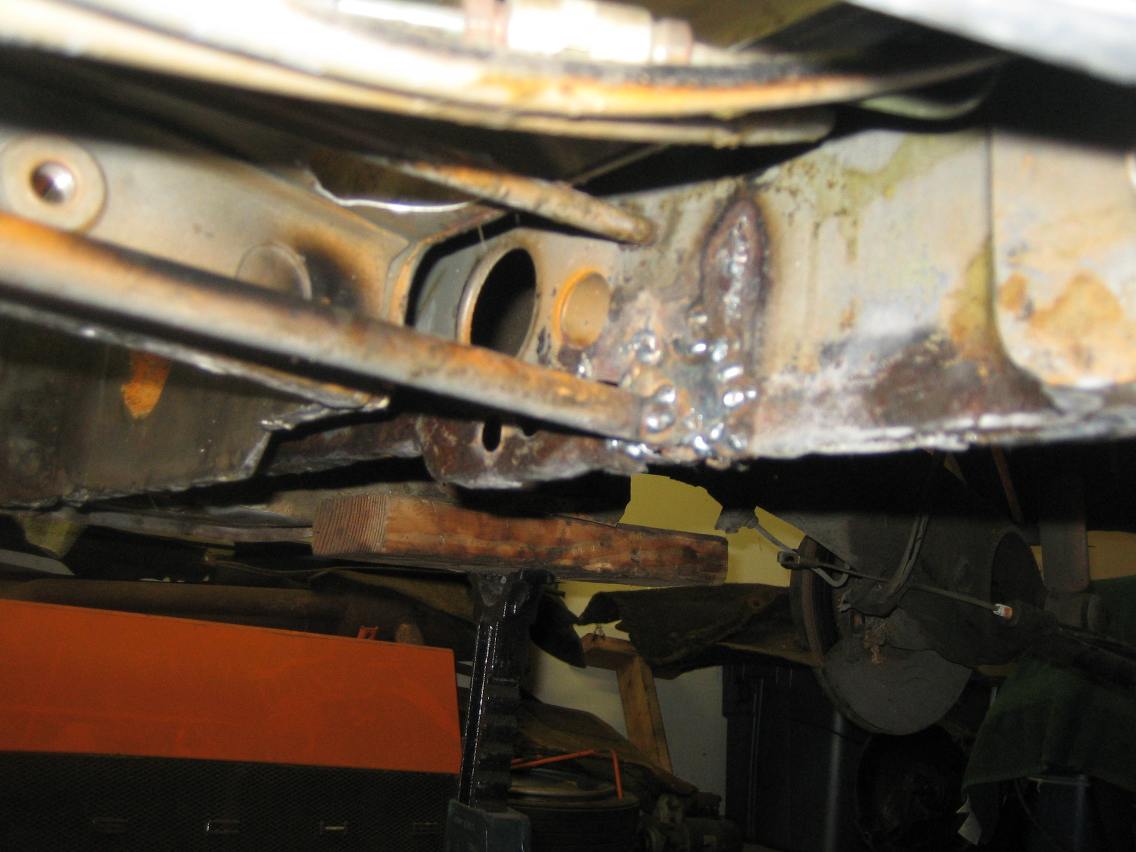
A side job turned out to be undoing the PO clutch tube re-enforcement modification, it worked but it also negated about 1" from the ride height at the threaded portion protruded well beyond the bottom of the floor pan. I removed that fix and made a bracket similar to the original (which is still there just a little further forward) and then welded it to the floor using the holes already there. At the engine bulkhead the tube had been welded as well so while the pan was out I added a metal bracket to help re-enforce.
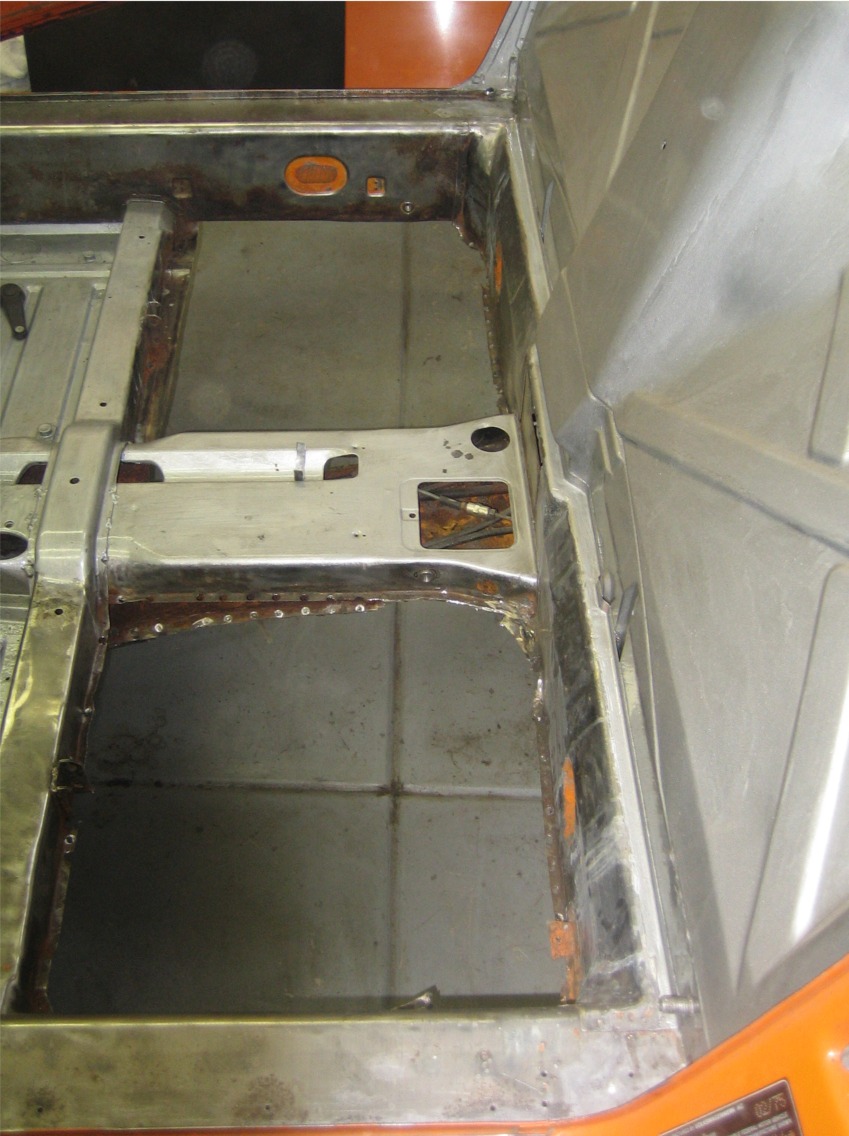
So the floor pan in in, that was a lot of work especially the joining of the front and rear pans, if I had to do it again it would be easier for sure. I bought a hole punch which I used on the sides of the pan so I could rosette weld to the longitudinal.
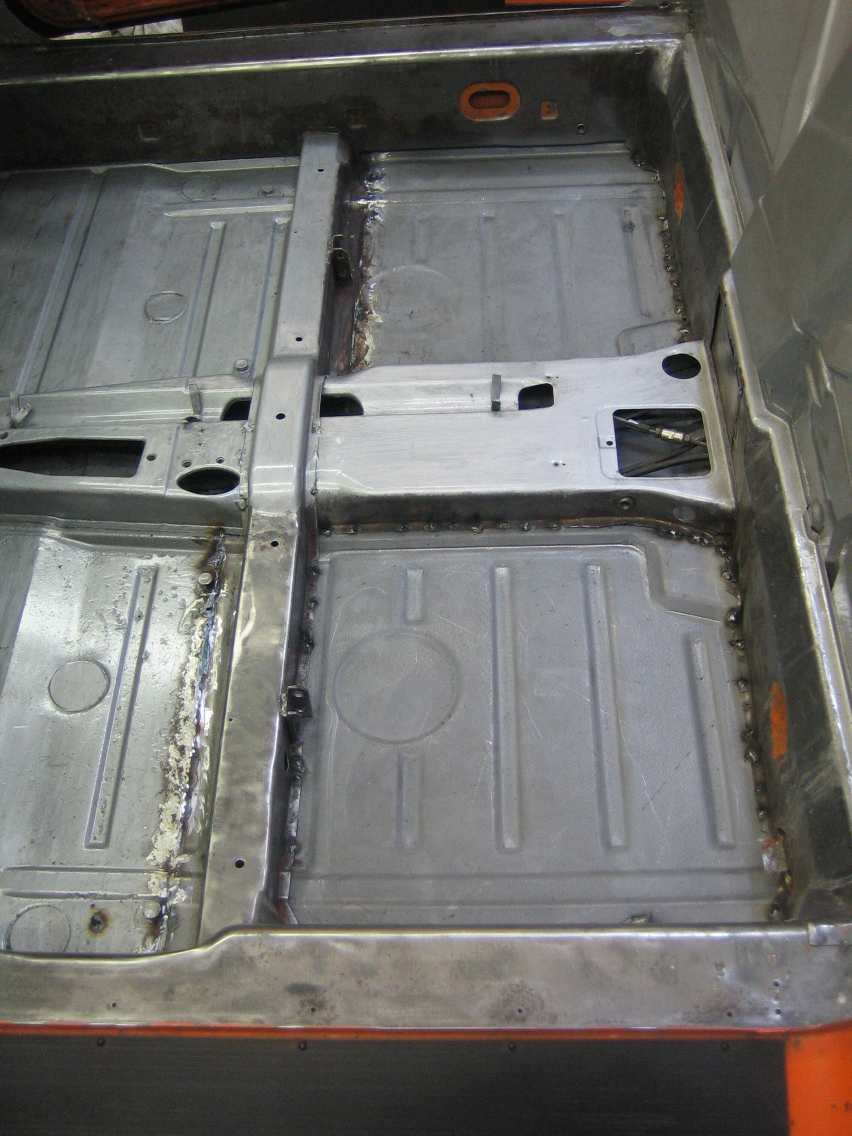
I then sprayed weld thru primer where the Engman kit locates.
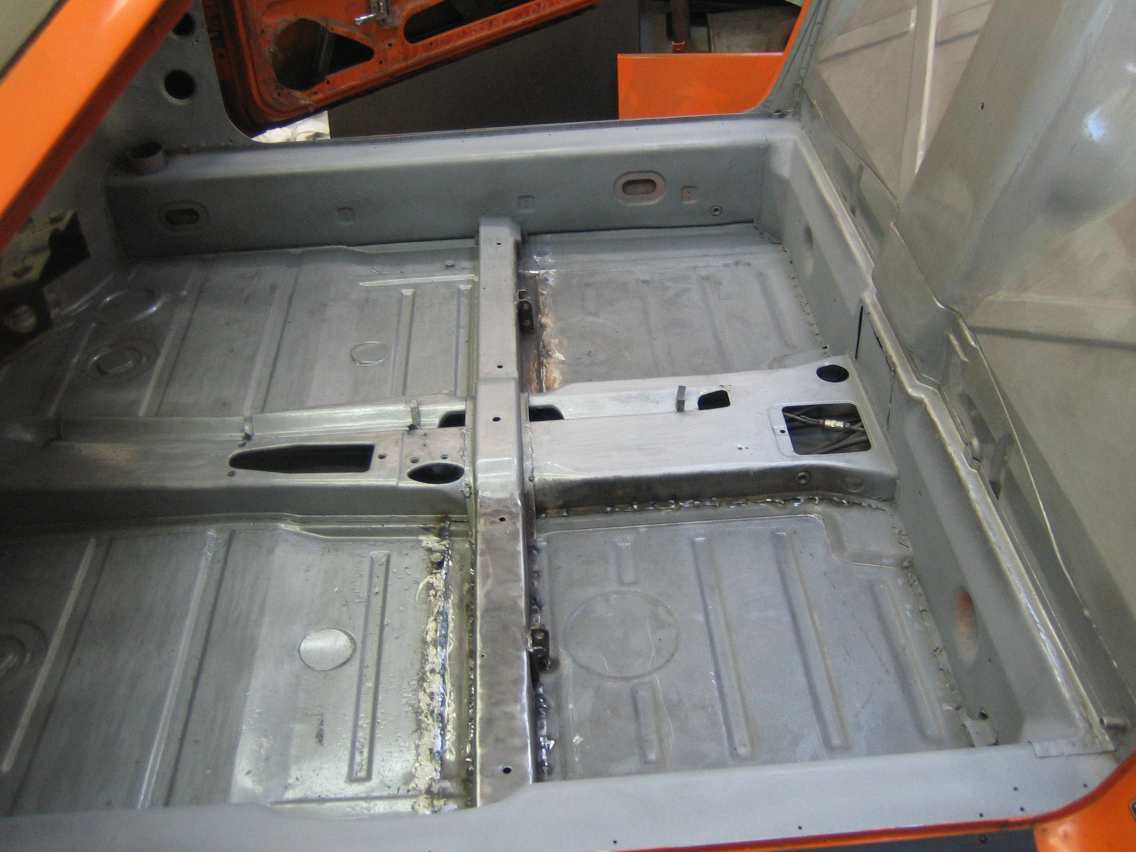
I spent quite a bit of time fitting the pieces as the longs are far from square, even so it is a compromise and then try and get the pieces as snug as possible when you weld. With the pan and longs that is a lot of welding, I have already run out of gas and wire once. Still some welding to do but nearly there with these pieces.
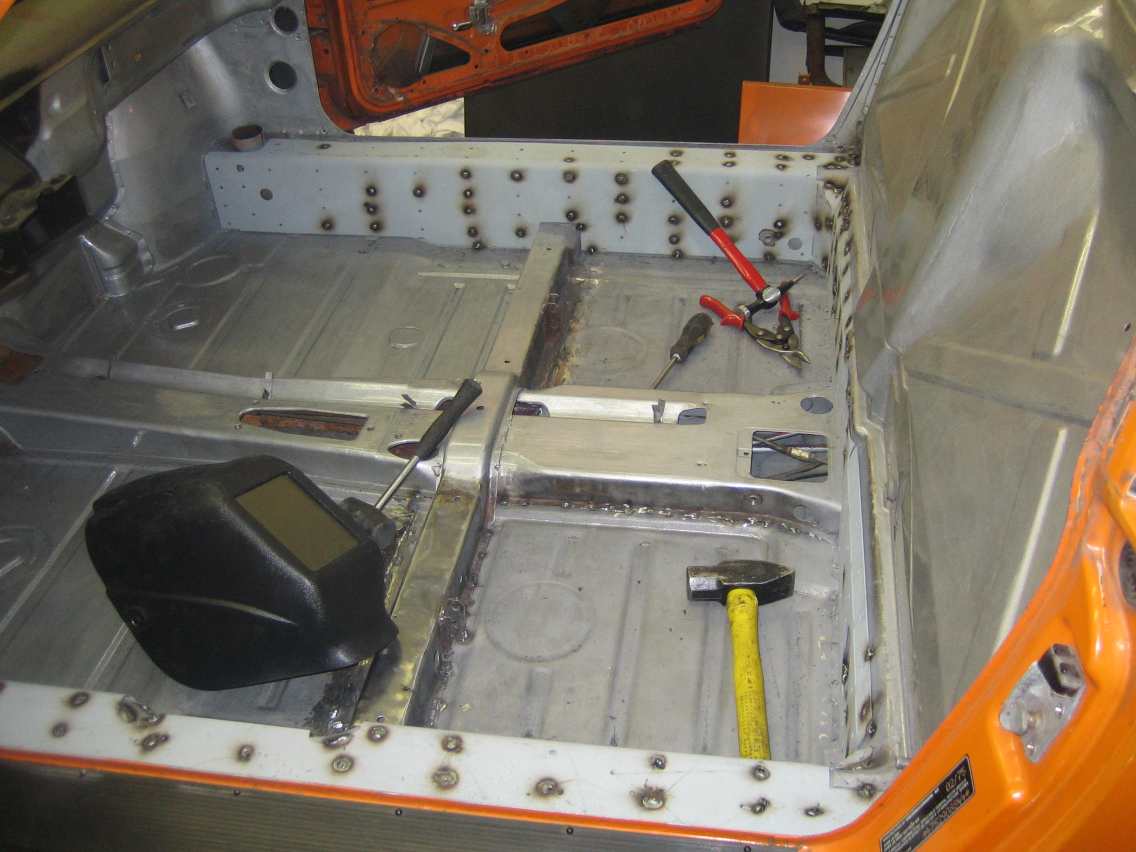
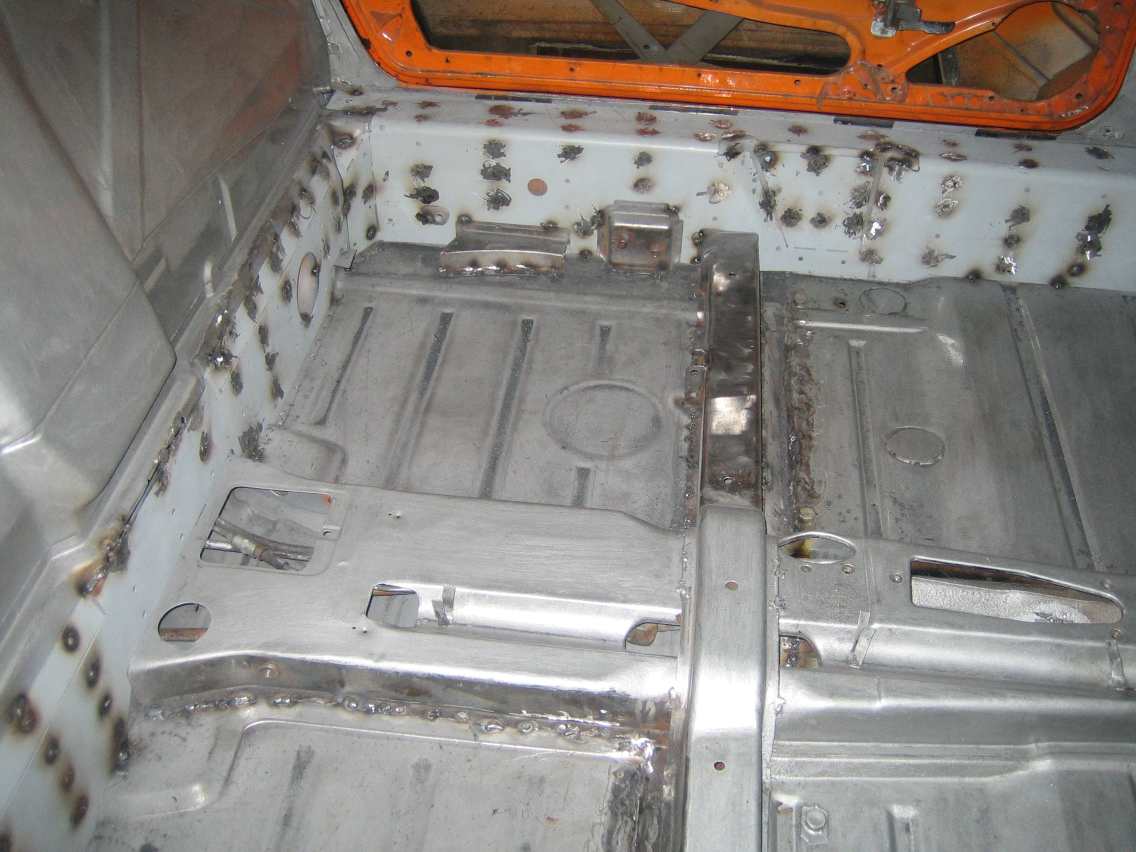
Finally got back to welding in the seat mountings and painting the remaining parts of the interior, I was hoping to get new seat brackets but they never came so I fixed the old ones only to weld them in backwards (AGHHHH!!), they don't look too pretty but believe me they are not going anywhere.
Also brushed seam sealer everywhere I thought appropriate.
More to come ...